
Perfect for a quick dessert or a brunch spread.
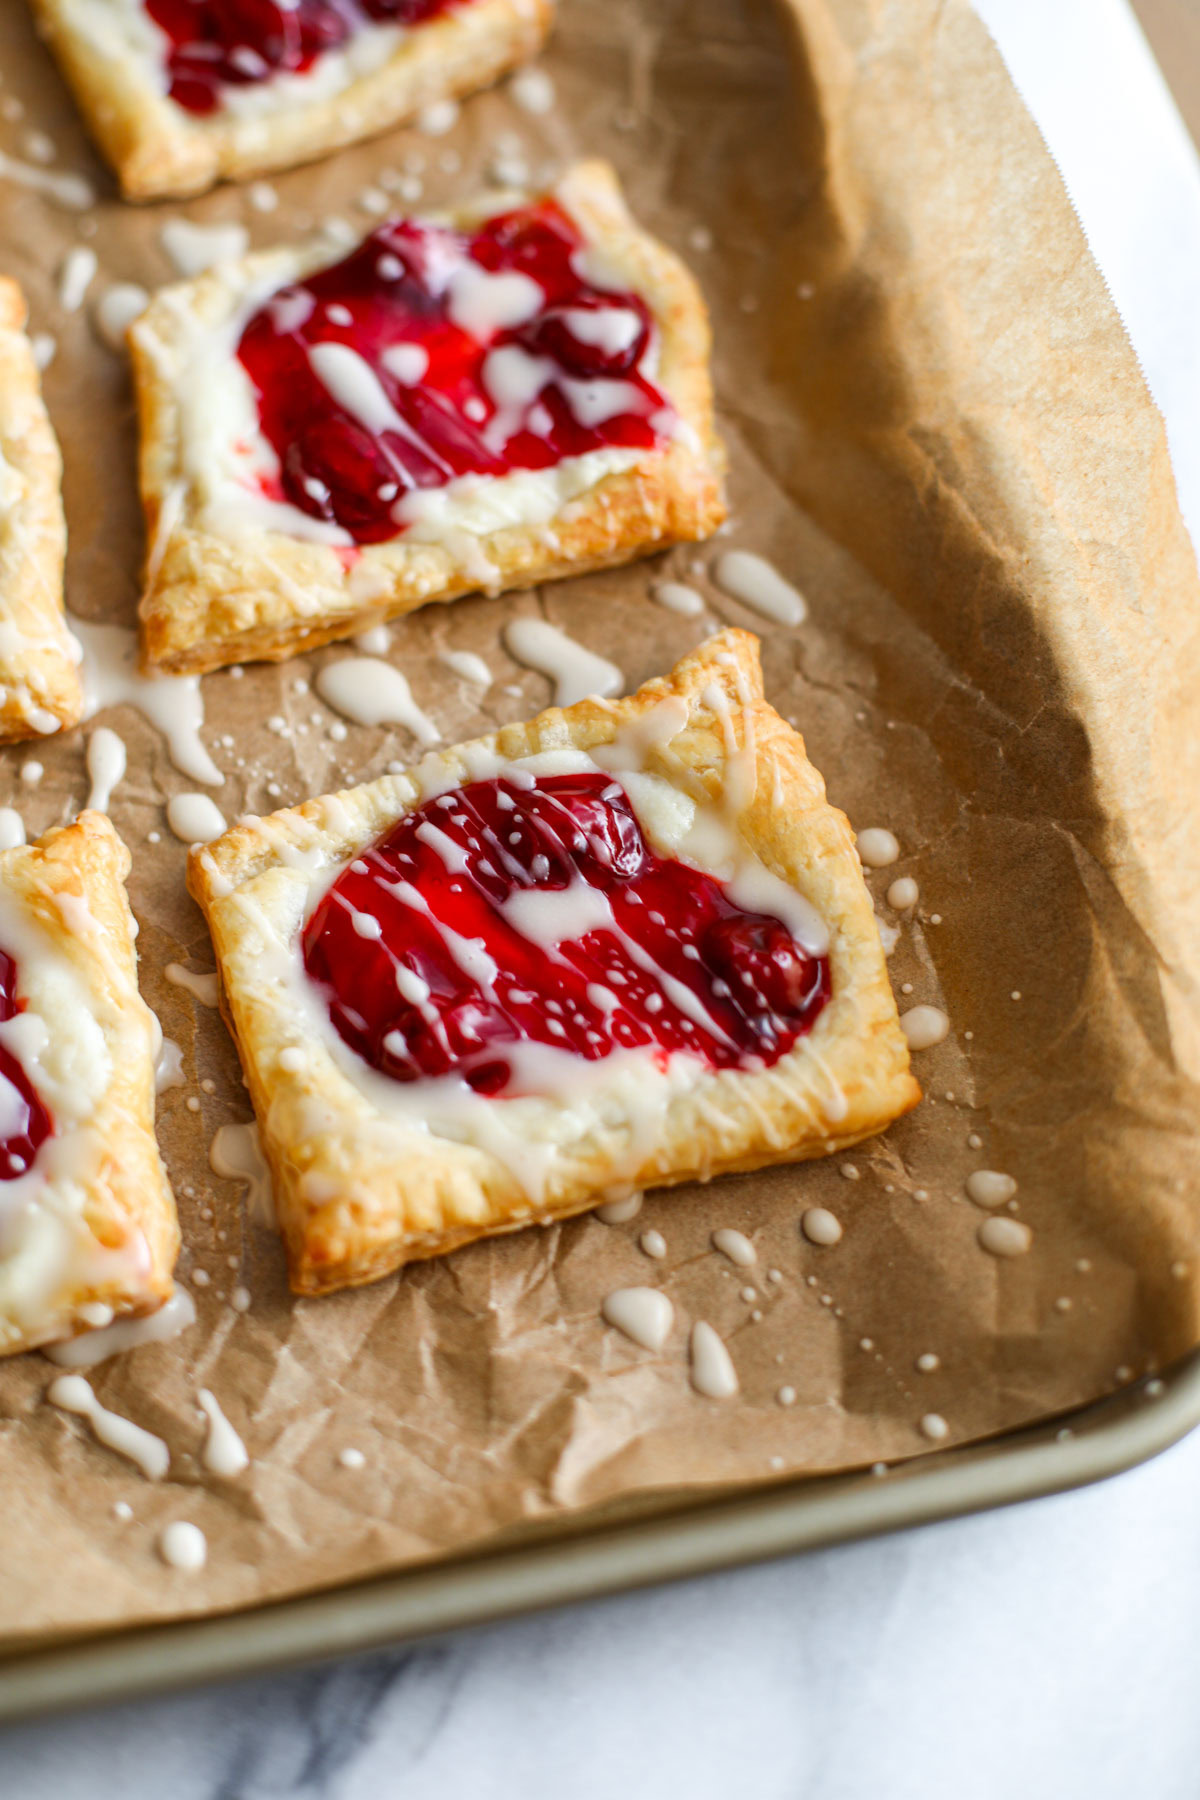
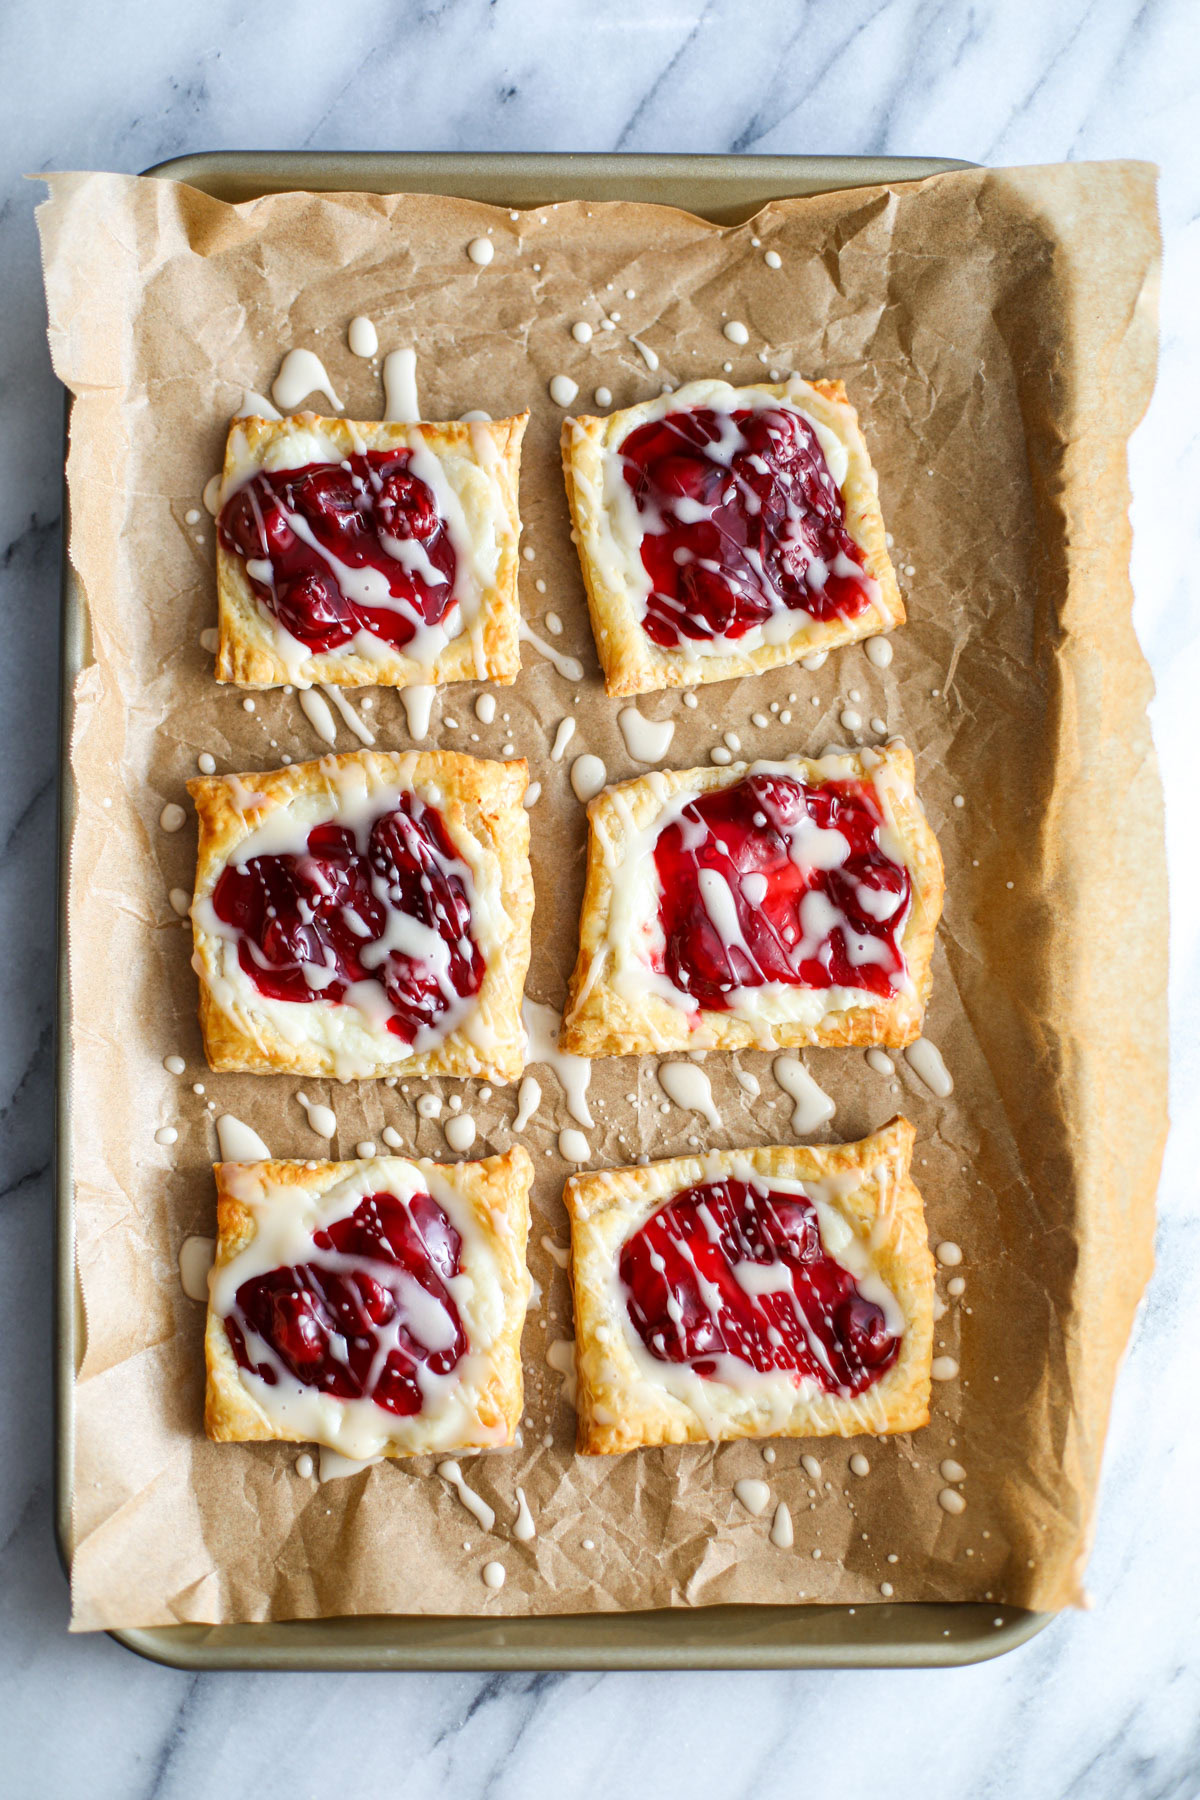
These Cherry Cheese Danish are everything you expect made simple at home. Flaky puff pastry is topped with a lightly sweetened cream cheese mixture and nostalgic cherry pie filling. Finish with a simple vanilla glaze, and you have a treat that tastes like you spent hours on them!
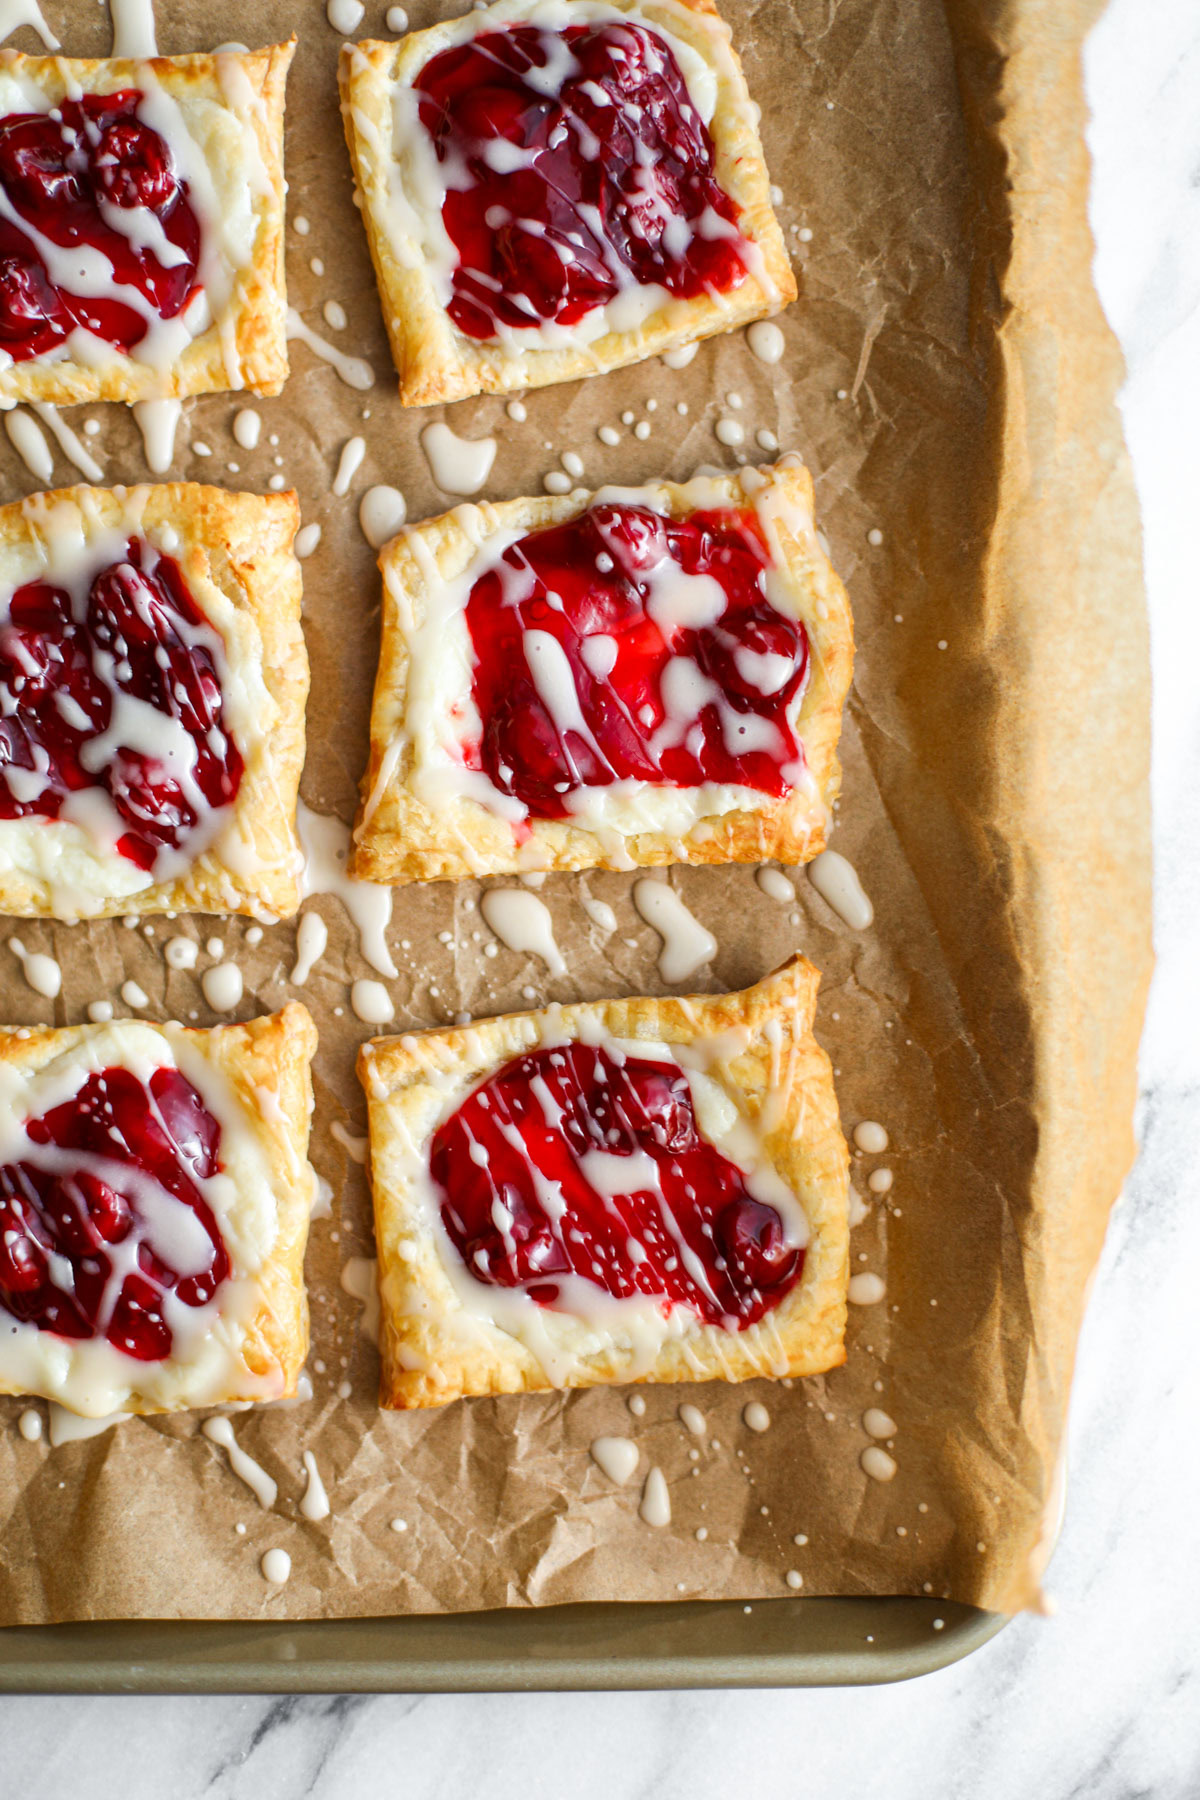
Cherry Cheese Danish Nostalgia!
Down the street from the home I grew up in is a longstanding German bakery. Open for only part of the day and you had to be there early to beat the crowds and secure your favorites. I’m sure you’re not surprised that a kid would love the cherry cheese danishes – sweet filling, glaze, flaky pastry – does it get any better than that? Poppyseed surely wasn’t the favorite…
Well, you guessed it, it’s still my favorite. I haven’t changed over to anything else and the once a year I end up there that’s what I get (and bring home several for later)!
So to curb that craving in the meantime, I make these easy and quick shortcut cherry cheese danishes. I wish I had the time to pull together pastry dough that could (probably not) rival the local bakery, but this will do!
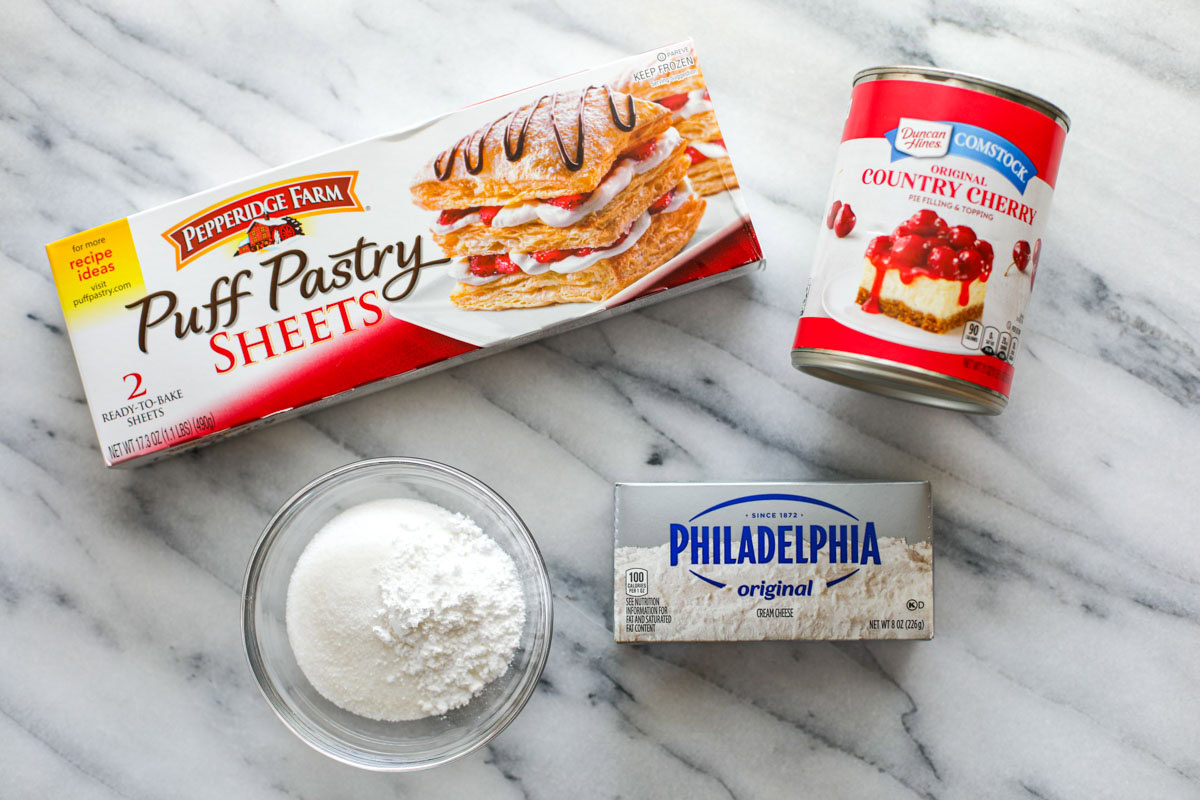
Ingredients
These are a shortcut after all! The ingredients list is pretty straightforward. These do take a bit of effort, but not nearly what it takes to make pastry dough.
- puff pastry – I buy the Pepperidge Farm brand in the frozen section in the frozen dessert aisle
- cream cheese
- lemon juice – I use pure lemon juice from the jar if I don’t have a lemon handy
- white granulated sugar
- powdered sugar – for both the cheese mixture and the glaze!
- vanilla extract
- cherry pie filling – the Duncan Hines is the easiest brand for me to find
- heavy cream
This recipe is for cherry cheese – but if you have a favorite pie filling, use that instead and switch up the flavors!
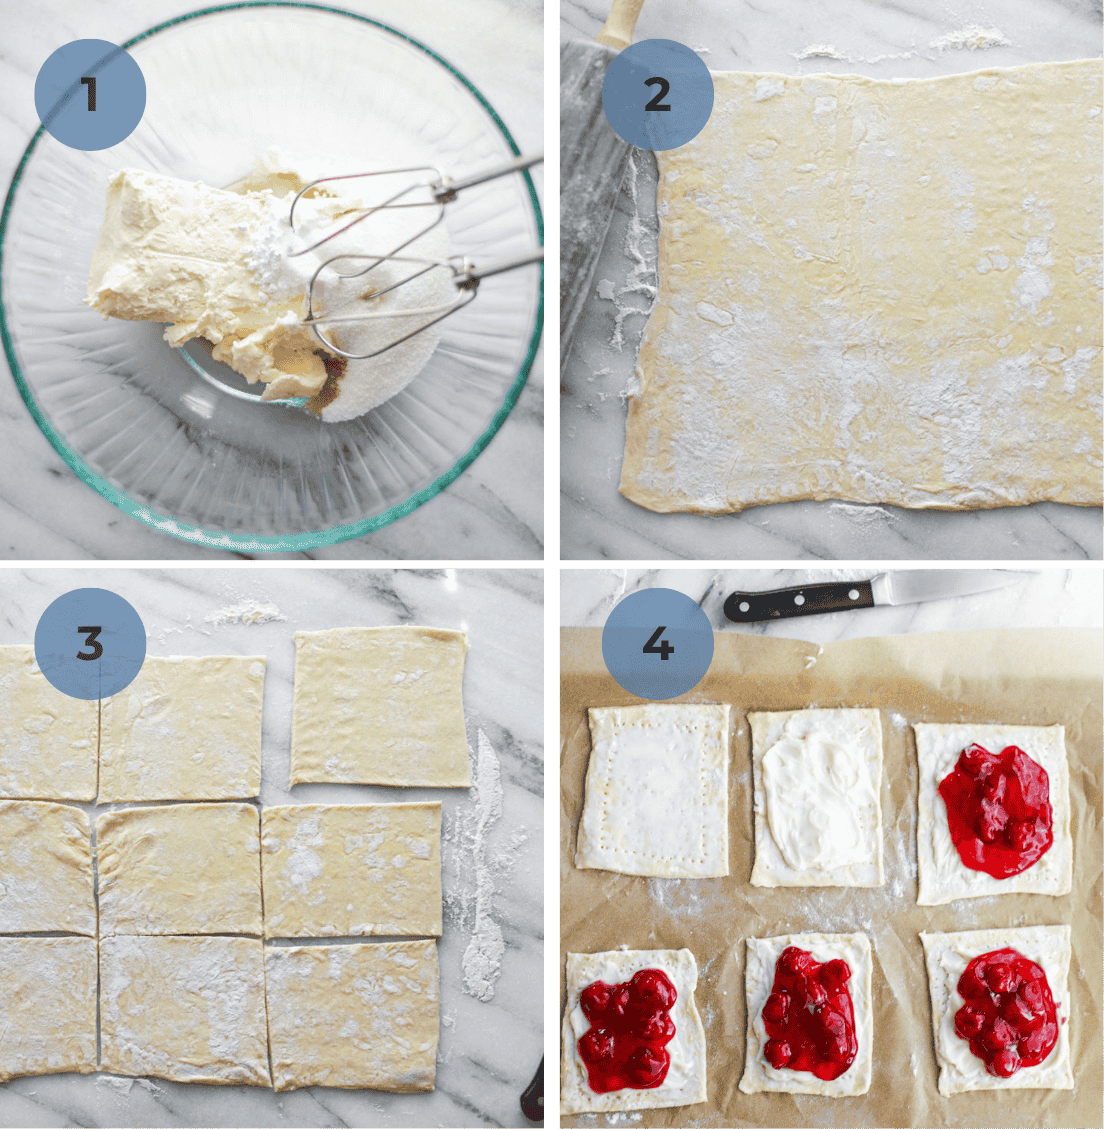
How to Make Cherry Cheese Danish
Let’s get into the recipe!
- Prepare the Puff Pastry: Thaw the puff pastry sheets. Roll out on a clean surface and cut into 9 even squares.
- Make the Cream Cheese Mixture: In a mixing bowl, blend the cream cheese mixture until smooth and creamy.
- Assemble the Danishes: Place the pastry squares onto a parchment lined baking sheet, leaving space between each one. Score a border around each square and brush with heavy cream. Add the cream cheese filling to the center, followed by the cherry pie filling, avoiding the border.
- Bake and Glaze: Bake until golden brown. Let cooly slightly, whisk together the glaze, and drizzle over the pastries.
How to Store Leftover Cherry Cheese Danish
These do contain cream cheese and can turn rather quickly on the counter. I keep them out for the day after making them to be enjoyed by family and anyone who stops by. Same day is always going to be freshest when it comes to puff pastry.
You can always split the recipe in half and make only one puff pastry sheet worth of danishes and save the fillings in the fridge to make within the next couple of days.
If there are any leftovers, I put them in an airtight container and place in the fridge. I have actually been told they are good cold!
These danishes would be great served or brought to a brunch alongside a savory dish, like this Crustless Broccoli and Cheese Quiche!
Equipment I Use to Make Cherry Cheese Danish
- Marble Rolling Pin – my favorite! So heavy duty.
- Marble Pastry Slab – one of my favorite kitchen items, I practically prep everything on this

Frequently Asked Questions
Do I need to thaw the puff pastry first?
Yes, thaw it in the fridge overnight or on the counter until it’s workable but still cold. If it gets too soft, it won’t puff as well and becomes incredibly difficult to work with.
Can I use a different pie filling?
Yes, blueberry, strawberry, or apple would work here.
Do they need to be refrigerated after baking?
Yes, because of the cream cheese filling. Store in the fridge in an airtight container.
Print
Cherry Cheese Danish
- Total Time: 45 minutes
- Yield: 18 pastries 1x
Description
Quick and easy Cherry Cheese Danishes.
Ingredients
- 1 package frozen puff pastry sheets, 2 sheets
- 8 oz block cream cheese, softened
- ½ teaspoon lemon juice
- 1/3 cup white granulated white sugar
- 1 tablespoon powdered sugar
- ½ teaspoon vanilla extract
- 2 cups cherry pie filling
- 2 tablespoons heavy cream
Glaze:
- ½ cup powdered sugar
- 2 tablespoons heavy cream
- ¼ teaspoon vanilla extract
Instructions
- Remove the puff pastry sheets from the freezer and allow them to thaw at room temperature for 30-45 minutes or overnight in the fridge.
- Preheat your oven to 400°F. Line a baking sheet with parchment paper and set aside.
- In a mixing bowl, combine one 8 oz block of softened cream cheese, 1/3 cup granulated white sugar, 1 tablespoon powdered sugar, ½ teaspoon lemon juice, and ½ teaspoon vanilla extract. Use a hand mixer to blend until smooth and creamy.
- On a clean and lightly floured surface, roll out one sheet of puff pastry into a large rectangle. Cut into 9 equal squares. If the second pastry sheet begins to soften while working, put it in the refrigerator until you’re ready to use it.
- Place the pastry squares on the prepared baking sheet 2 inches apart. Using a fork, gently score around the edge of each square to create a ½ inch border. Brush each square with heavy cream.
- Spread about 1 tablespoon of the cream cheese mixture into the center of each square followed by 2 tablespoons of cherry pie filling, leaving the ½ inch edge untouched by filling.
- Bake for 15 minutes, or until the pastries are golden and have puffed up.
- Transfer to a wire rack to cool.
- While the pastries cool, prepare the glaze by mixing ½ cup powdered sugar with 1 tablespoon of heavy cream. Add more cream, a little at a time, if the glaze is too thick. Use a spoon to drizzle the glaze over the cooled pastries.
- Repeat with the second puff pastry sheet.
Notes
These are best eaten the day of, make only one batch (one puff pastry sheet or 9 pastry squares) if that is all you need!
Add a dash of lemon juice to the glaze in place of vanilla extract to brighten up the flavors.
- Prep Time: 30 minutes
- Cook Time: 15 minutes
- Category: Breakfast, Dessert
- Method: Oven
 Breaded Chicken Cutlets
Leave a Reply