
Perfect to dress up your Christmas cookie trays.
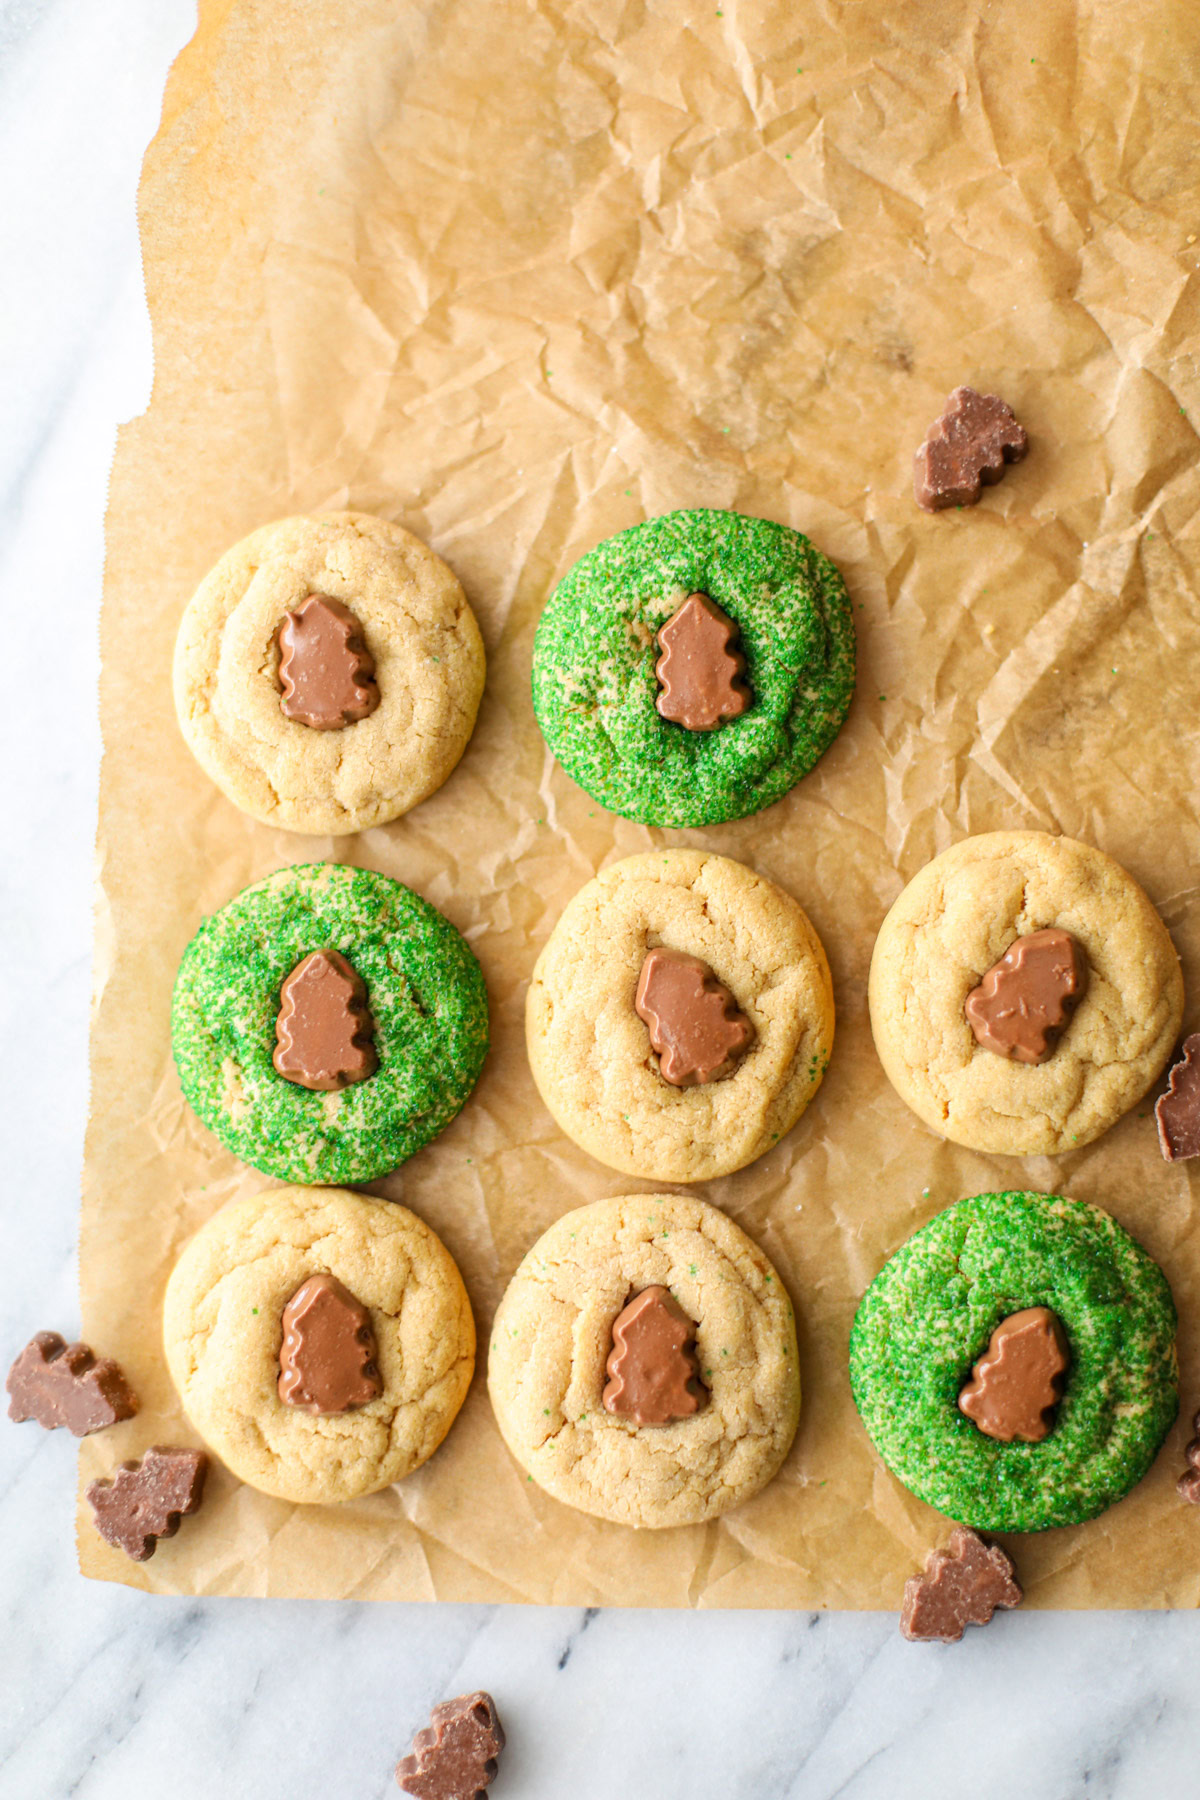
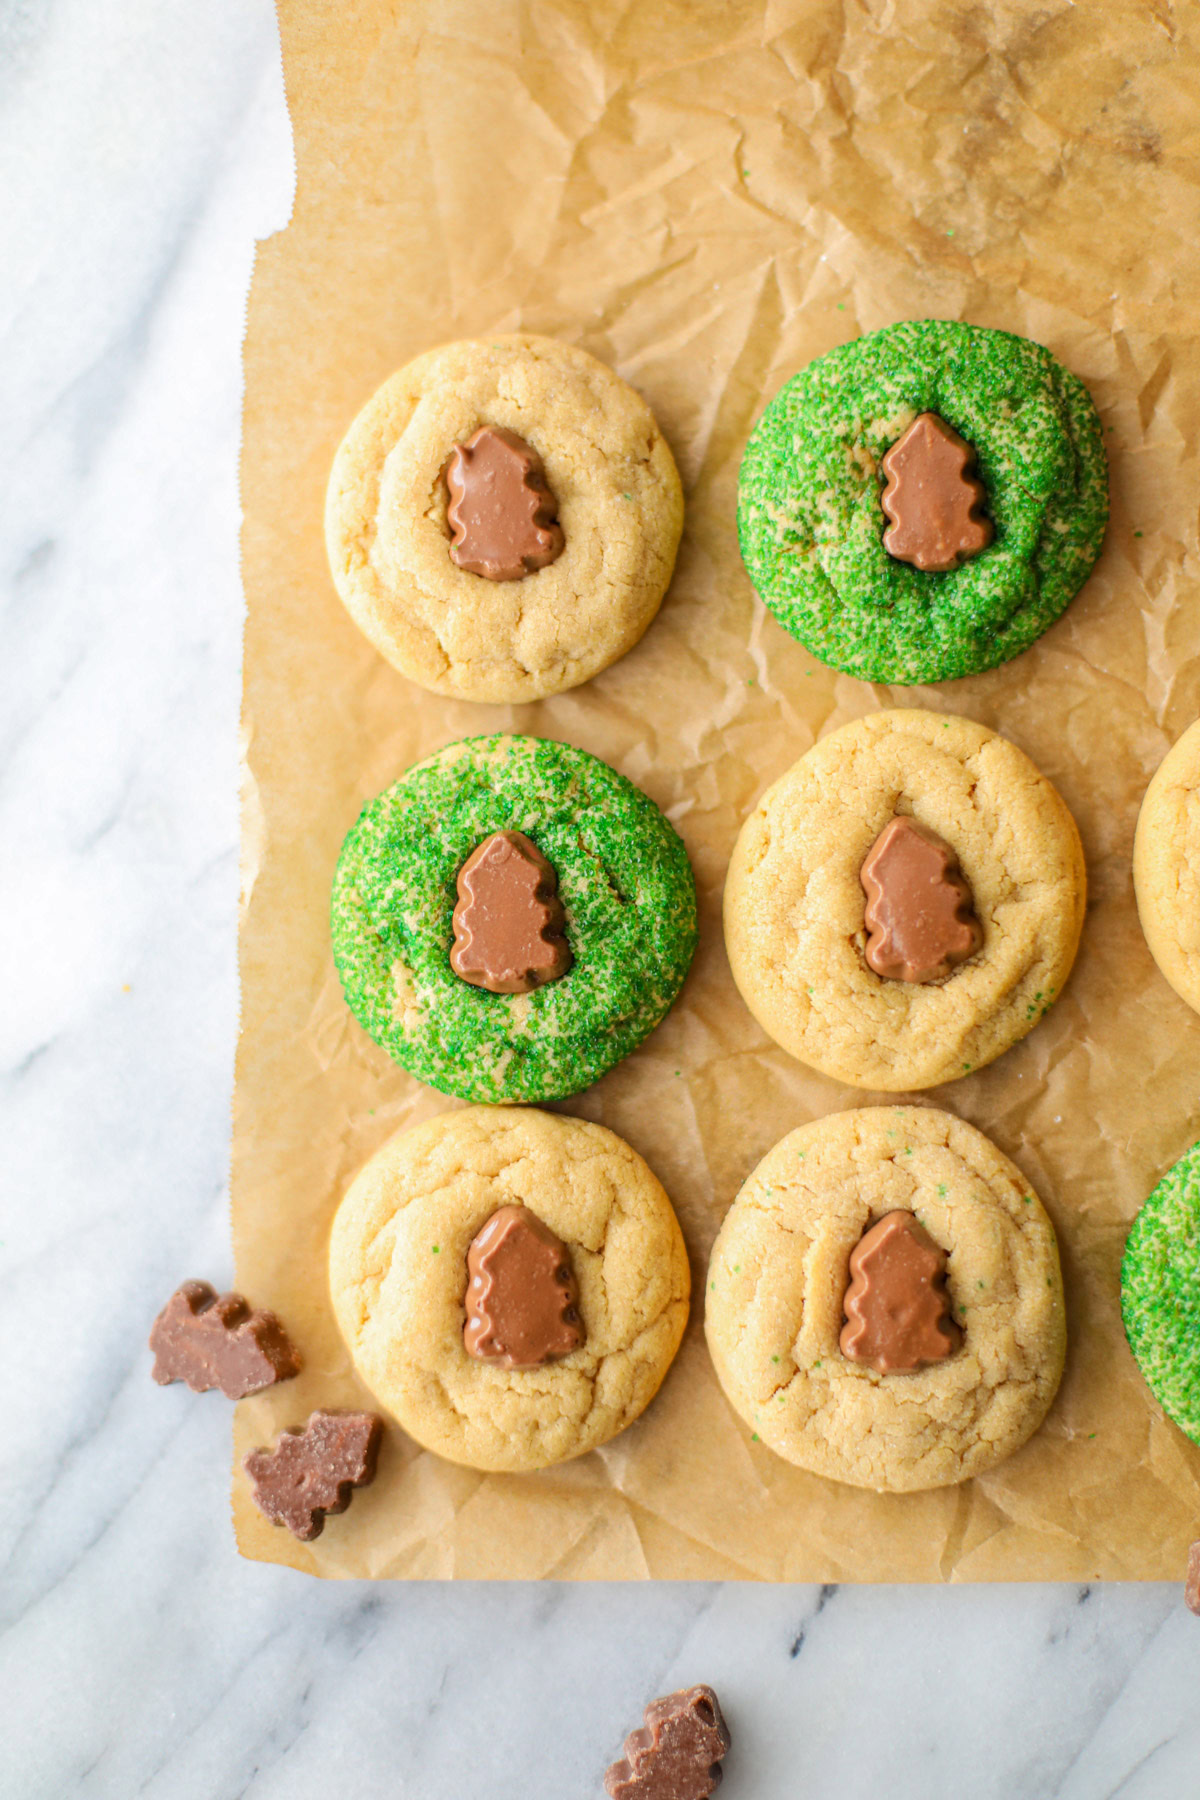
These Reese’s Mini Trees Peanut Butter Blossoms are both nostalgic and an irresistibly cute addition to your holiday cookie repertoire. They take the loved peanut butter classic and dress it up for the Christmas season with the new Reese’s Mini Christmas Trees!
The Reese’s Shape Debate
Still one of my favorite foodie related debates. Everyone has their favorite Reese’s shape! I think I’m still partial to the Reese’s Eggs and the Christmas Trees, so you can probably guess how excited I was to come across these! I spotted these first at Walmart and snagged two bags for all the ideas running through my head.
Peanut Butter blossoms are a classic at Christmas time and these little trees will make your cookie trays even more festive this year.
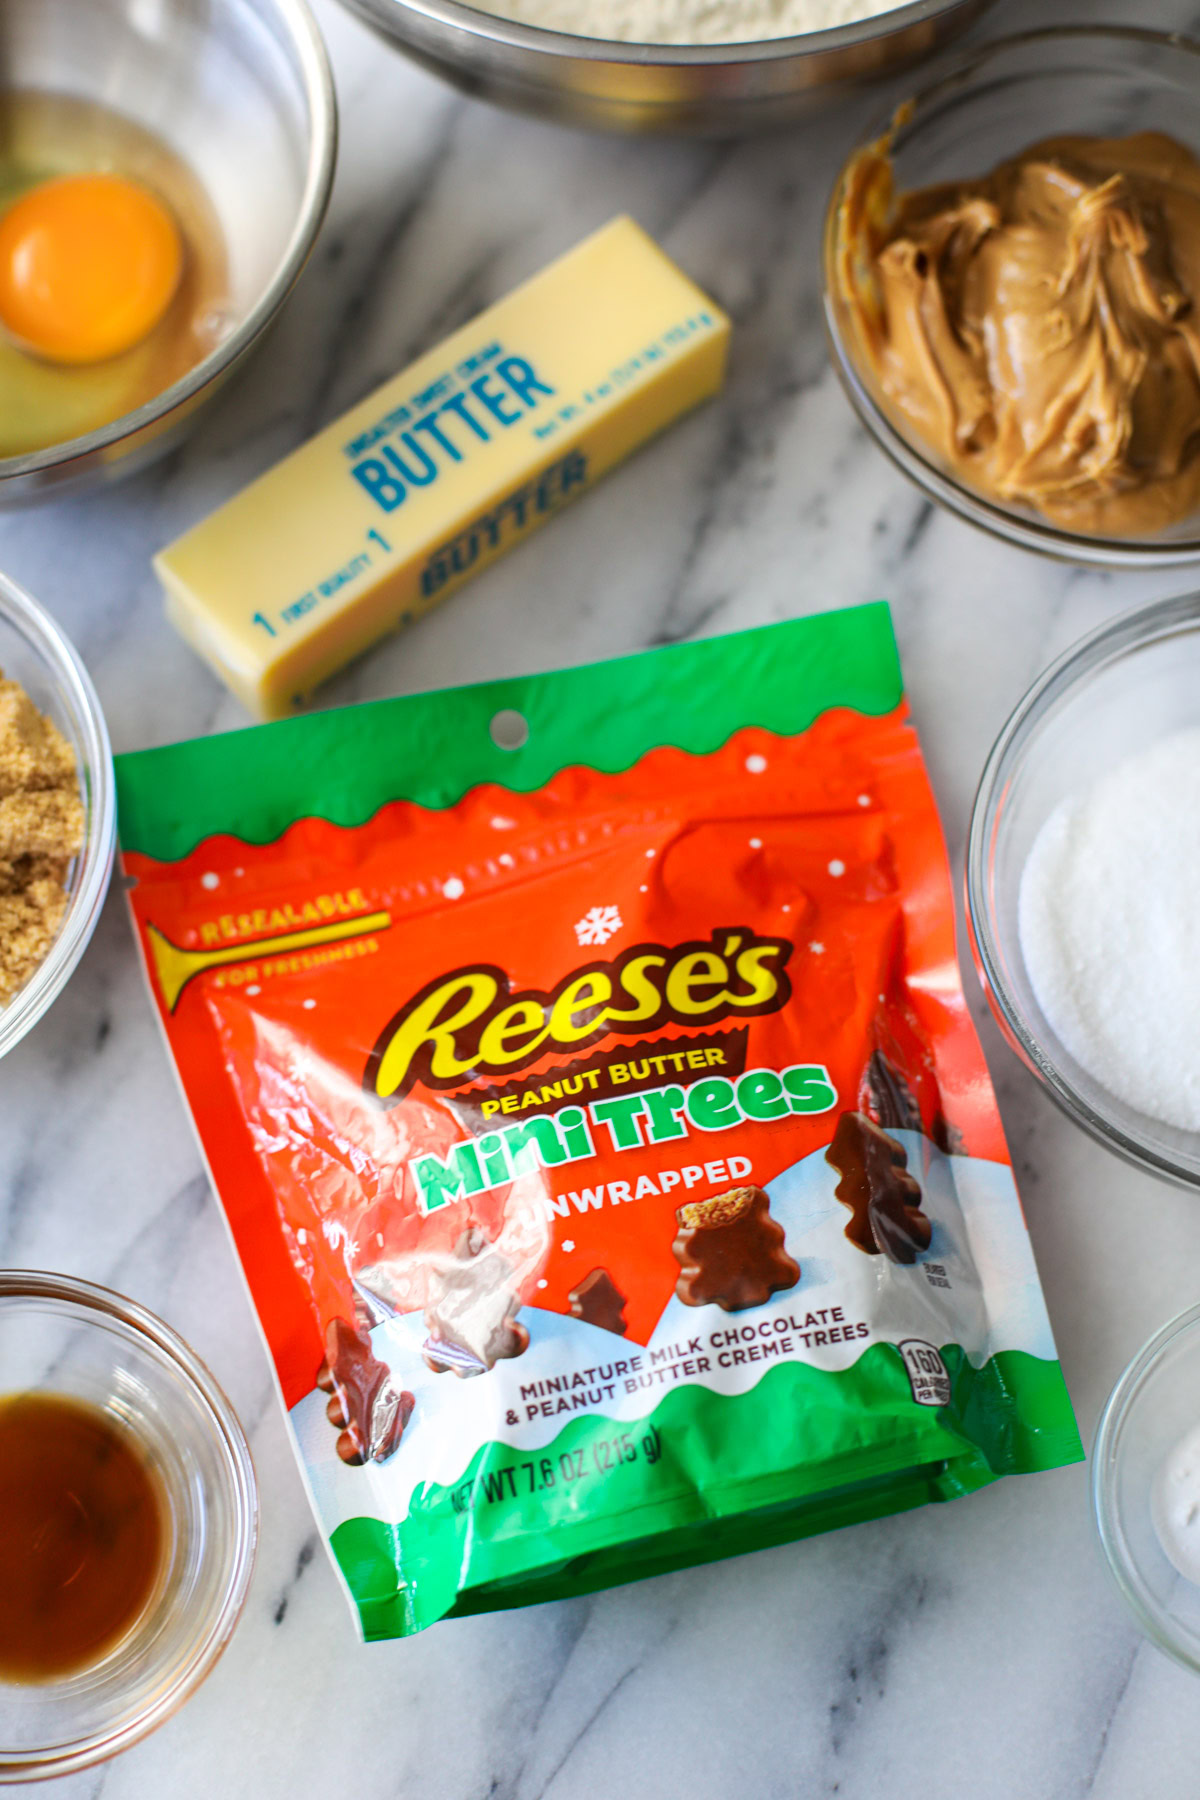
Reese’s Mini Trees Peanut Butter Blossoms Ingredients
Your typical peanut butter cookie ingredients, plus the Reese’s Trees!
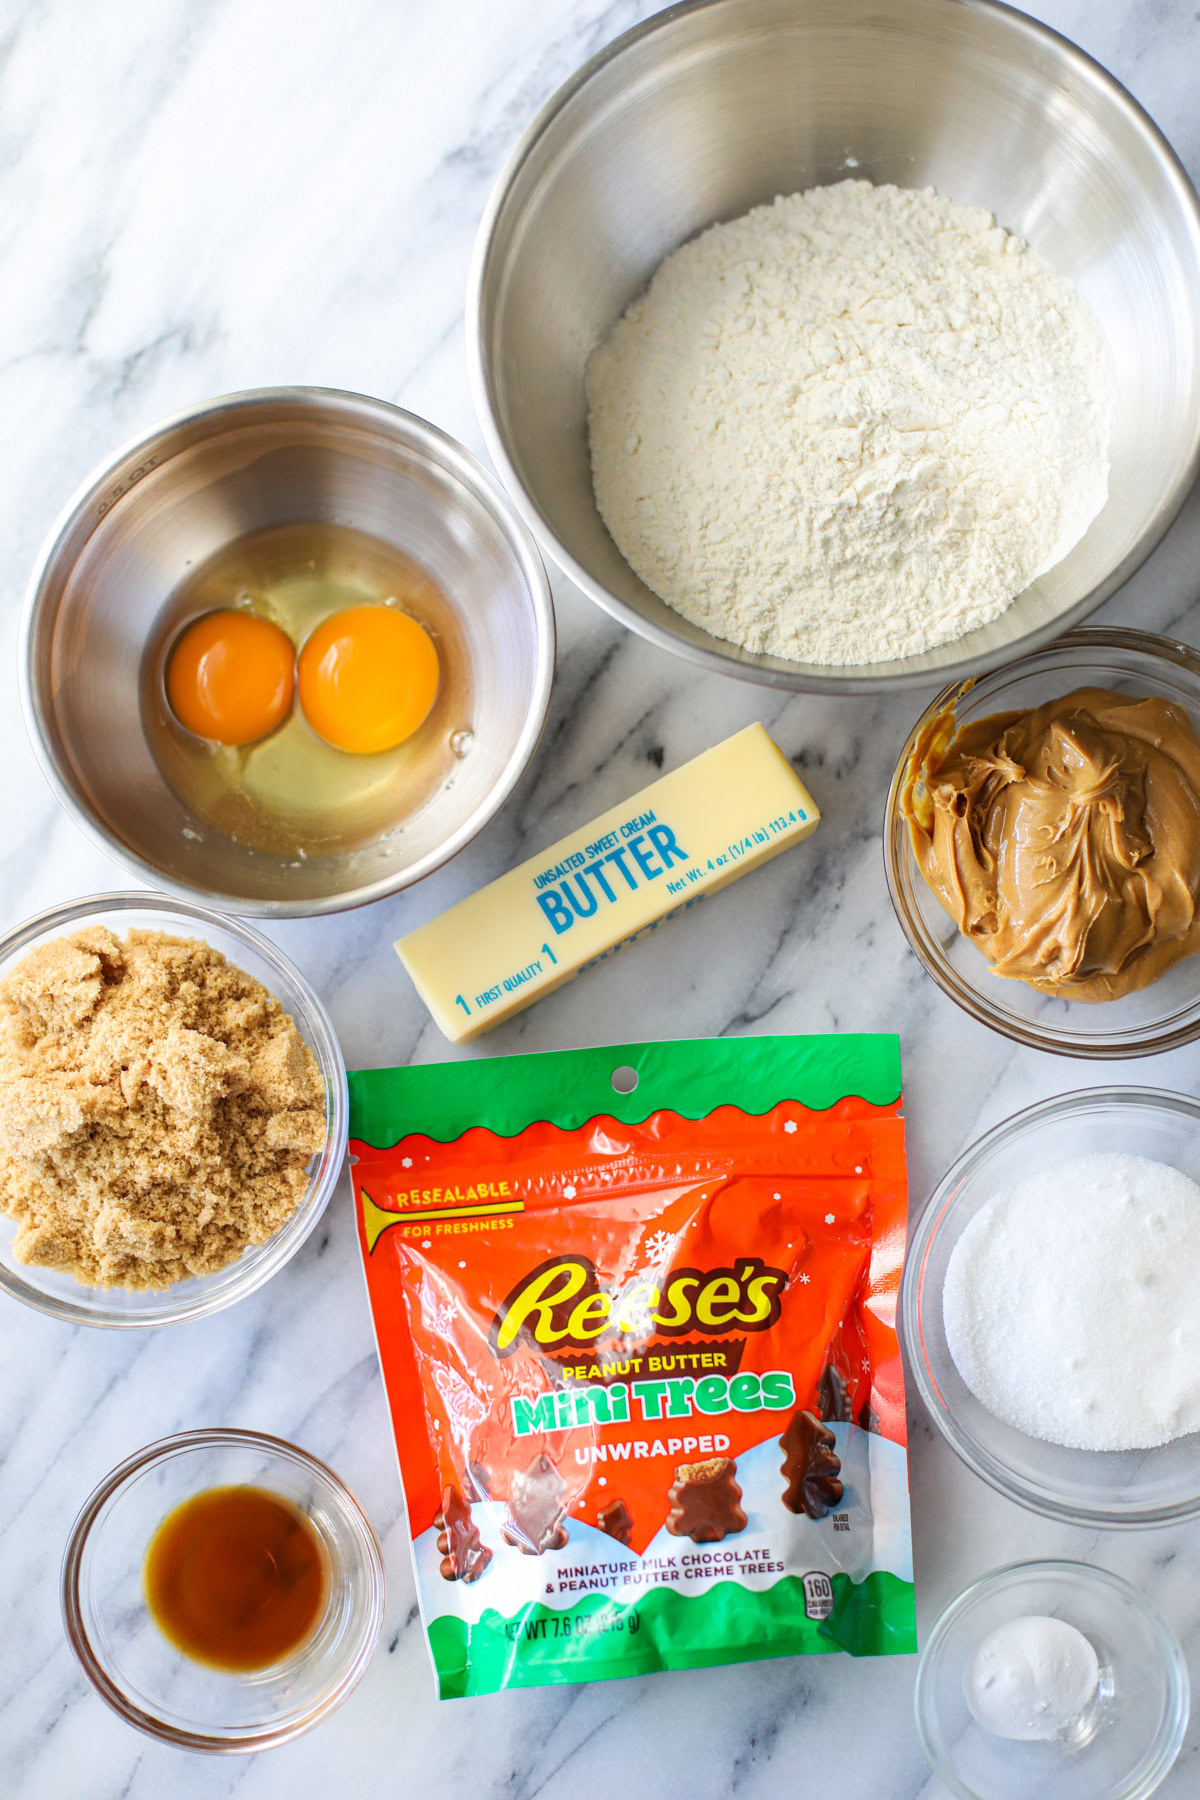
Wet & Dry Ingredients
- unsalted butter
- traditional creamy peanut butter – not natural for this recipe!
- light brown sugar
- granulated white sugar
- egg
- egg yolk – for extra richness and moisture
- all-purpose flour
- vanilla extract
- baking soda
- kosher salt – I use Diamond Crystal!
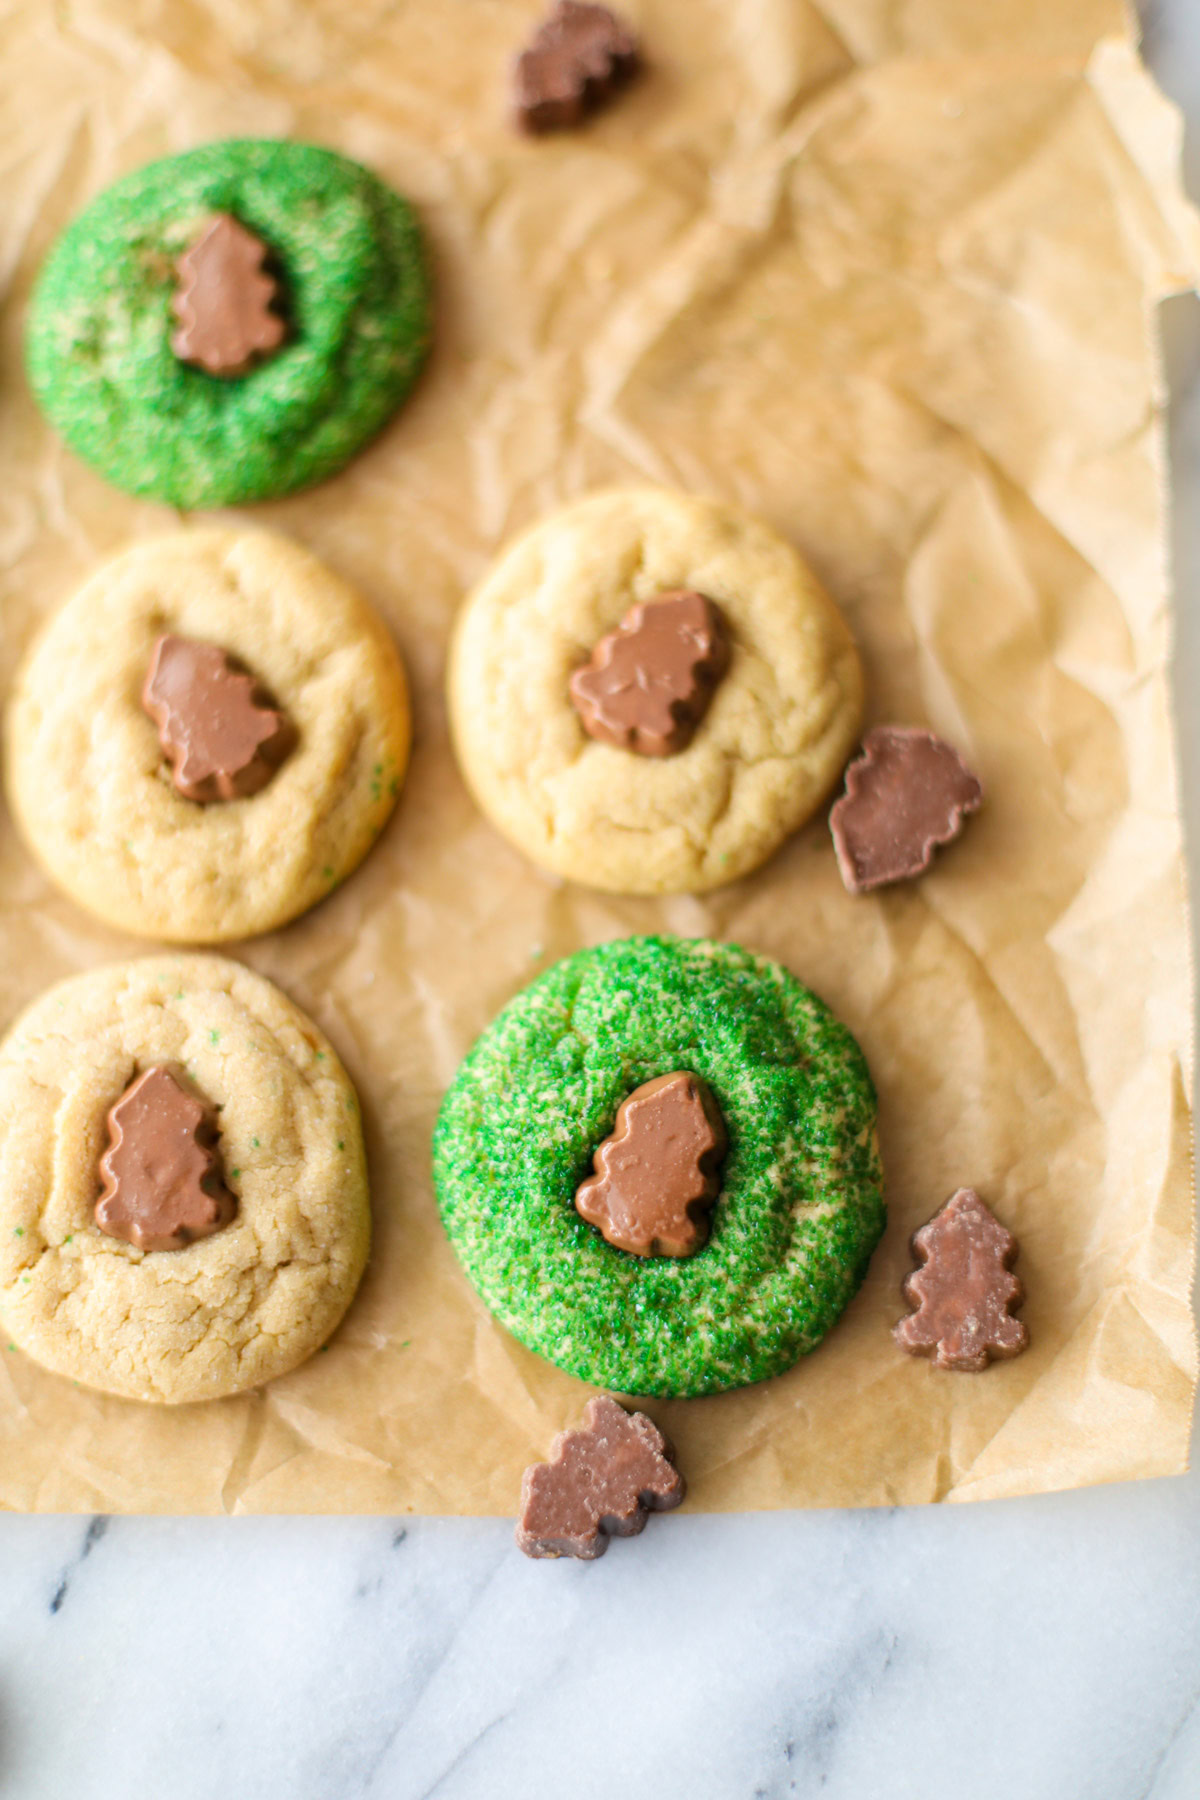
- mini Reese’s Christmas Trees – so good!
- green sanding sugar – optional if you want your blossoms to be green
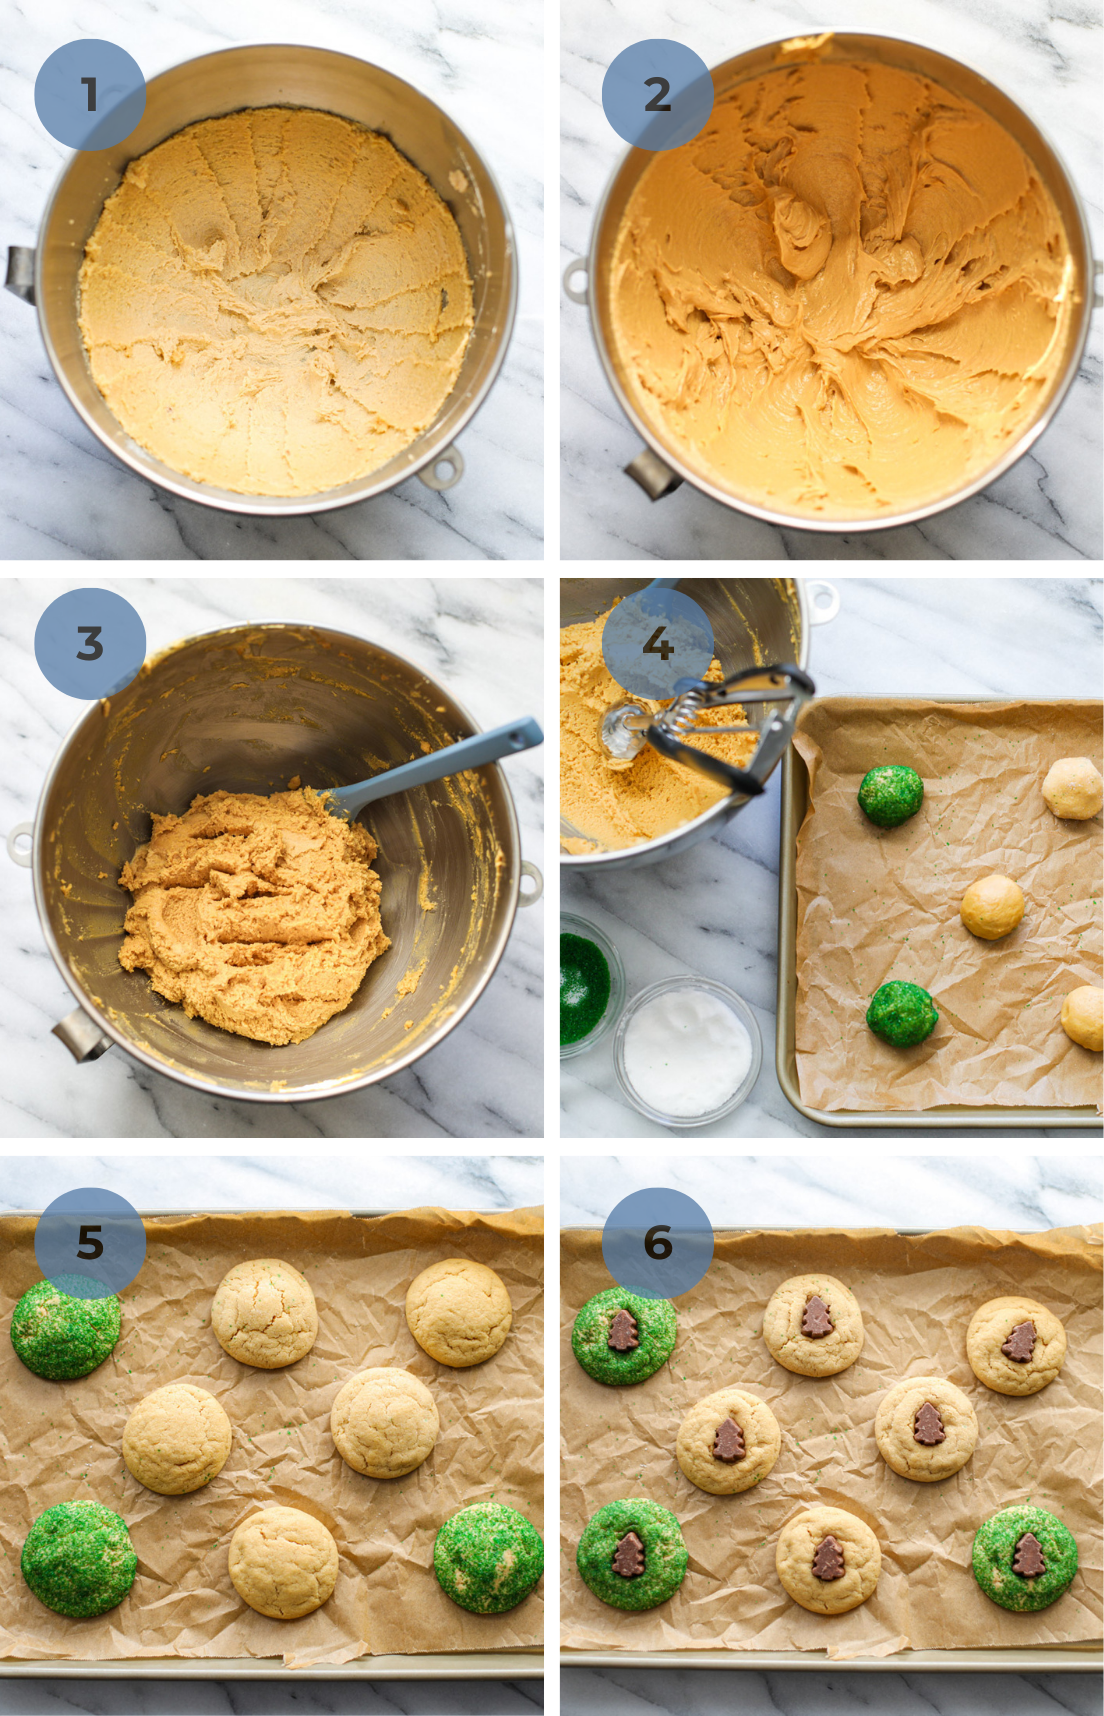
How to Make Reese’s Mini Trees Peanut Butter Blossoms
- Prep: Preheat the oven and line a baking sheet with parchment paper. Place the Mini Reese’s Trees in the fridge so they get cold while you prepare the dough.
- Make the Dough: Cream the butter and sugar until light in color, then mix in the peanut butter until fully combined. Add the egg, extra yolk, and vanilla and mix until smooth. In a separate bowl, whisk together the dry ingredients, then gradually add them to the wet mixture.
- Shape and Roll: Scoop the dough into balls, roll each one in granulated sugar, and place them evenly spaced on your baking sheet.
- Bake: Bake until the edges are just lightly golden, then immediately press a Mini Reese’s Tree into the center of each cookie while it’s warm. If you wait too long you won’t have the classic cracks in the cookie!
- Cool and Set: You can absolutely enjoy the cookies warm, but you have to let them cool completely to allow the chocolate to firm up before storing. Cool the cookies in a single layer until the chocolate sets.
Make Ahead Instructions
To make these ahead of time I recommend freezing the unbaked dough balls in a flat, single layer in an airtight container or ziplock bag. Remove the dough balls from the freezer right before baking, place in your 350°F oven for 10-11 minutes. Press the trees on the cookies once baked as per the regular recipe instructions.
Do not let the dough sit out, bake immediately from frozen for best results. I do recommend baking the dough once made, but it is possible to make the dough and bake when you’re ready!
Storage Tips
These stay fresh for up to 3 days in an air-tight container. Keep in mind, it takes several hours for the mini trees to harden after placing them on your cookies. You can store them sooner by only keeping them in a single layer so nothing presses on the chocolate until it fully hardens.
I recommend baking fresh instead of freezing them already made. The chocolate trees can get a bit funky after freezing. Use the Make Ahead Instructions to get ahead on your cookie prep.
Looking for new options for your cookie boxes this year? These Apricot Cream Cheese Cookies are a family favorite.
Print
Reese’s Mini Trees Peanut Butter Blossoms
- Total Time: 35 minutes
- Yield: 26 cookies 1x
Ingredients
- ½ cup unsalted butter, softened (113g)
- ¾ cup traditional creamy peanut butter, not natural (203g)
- ¾ cup light brown sugar (160g)
- ¼ cup granulated white sugar (50g), plus more for rolling
- 1 whole egg
- 1 egg yolk
- 1½ cups plus 1 tablespoons all-purpose flour (187.5g)
- 1 teaspoon vanilla extract
- ½ teaspoon baking soda (3g)
- ½ teaspoon kosher salt
- Mini Reese’s Christmas Trees for topping
- Green sanding sugar for rolling, optional
Instructions
- Preheat your oven to 350°F and line a cookie sheet with parchment paper.
- To help the Mini Reese’s Trees keep their shape, place them in the fridge while you prepare and bake the cookies.
- In a mixing bowl or stand mixer fitted with a paddle attachment, cream ½ cup softened butter with ¾ cup light brown sugar and ¼ cup granulated white sugar until pale.
- Add ¾ cup peanut butter and mix until fully incorporated.
- Add in 1 egg, 1 egg yolk, and 1 teaspoon vanilla extract and mix until combined.
- In a separate bowl, whisk together 1½ cups plus 1 tablespoon flour, ½ teaspoon baking soda, and ½ teaspoon kosher salt. Gradually add to the wet mixture until fully combined.
- Using a cookie scoop, make 1½ tablespoon balls. Lightly roll each cookie dough ball in a small bowl of granulated sugar.
- Place each ball of cookie dough 2½ inches apart on the lined cookie sheet.
- Bake for 9-11 minutes or until the edges are lightly golden brown. Remove from the oven and quickly top the middle of each cookie with a Mini Reese’s Tree, lightly pressing it down.
- You can eat and enjoy right away, but to keep the chocolate tree shape, let the cookies cool on parchment paper for 2-3 hours until the chocolate hardens, or store in a single layer.
- Prep Time: 25 minutes
- Cook Time: 10 minutes
- Category: Sweet Tooth
- Method: Oven
Frequently Asked Questions
Can I prep the dough ahead of time for cookie boxes?
Absolutely, make through step 7 and store the dough in the freezer until you’re ready to bake. Bake as directed right from frozen! See more here.
Are the tops of the cookies supposed to crack?
Yes! These cookies contain a lot of fat and the dough is dri. But have no fear, it helps the mini tree sit perfectly in the center of each cookie! Plus, it gives it the classic peanut butter blossom look.
Why do you have to use creamy peanut butter?
Natural peanut butter separates, you may notice you have to stir the oils in the jar to keep a smooth consistency. This can translate into the dough and cause very loose dough. I am curious to try it – maybe some chilling time would help! But Jif to the rescue for this recipe.
 Twice Baked Sweet Potatoes
Leave a Reply