
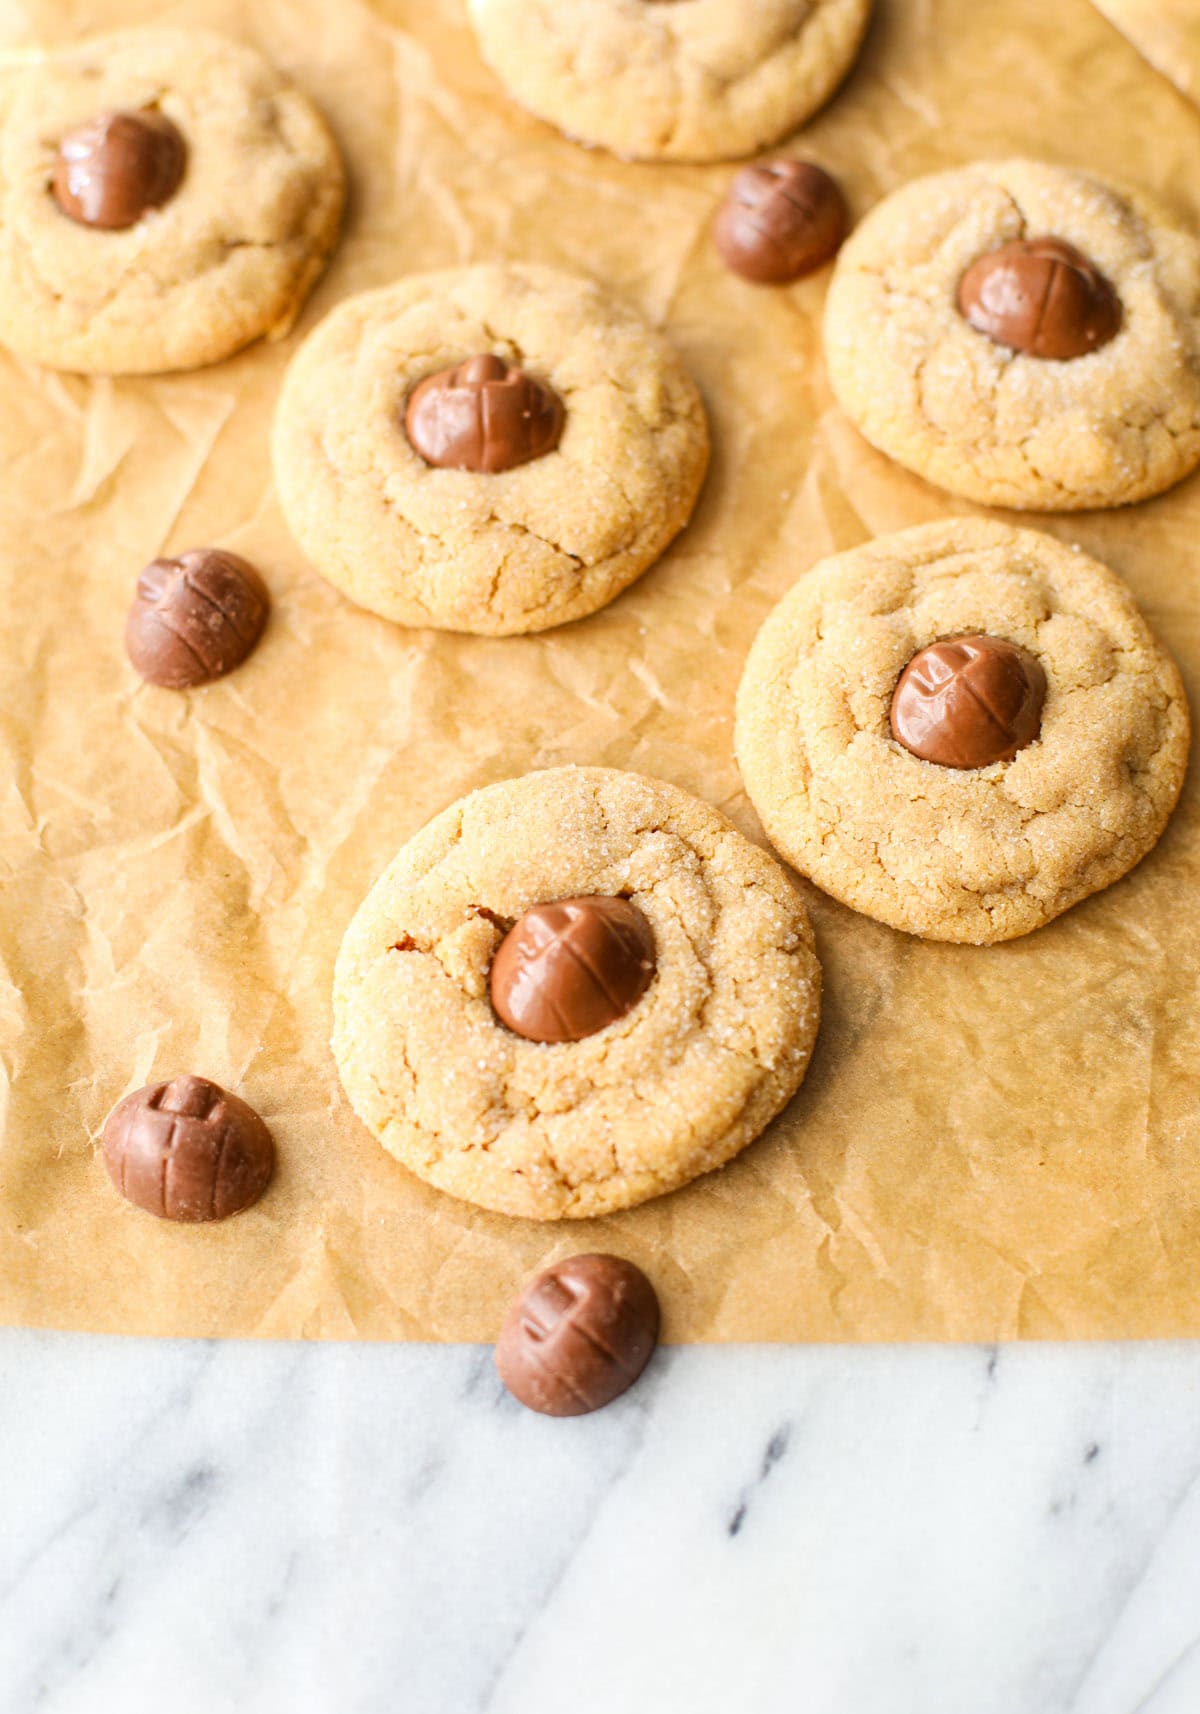
Perfect fall twist on a classic treat.
Mini Reese’s Pumpkins meet the classic Peanut Butter Blossom! An extra sweet fall treat that everyone will love!
Reese’s Shapes Debate!
I would argue Reese’s shapes in general are the best Reese’s – bats, ghosts, Christmas trees, eggs & pumpkins!!! I was so excited to see the release of these Mini Reese’s Pumpkins, I stalked the local Sam’s Club and Walmart just waiting to see them on an end cap. Sam’s Club finally came through. Plus, they’re unwrapped, a major win when it comes to needing 26 chocolate candies for topping.
I found the Mini Reese’s Eggs around Easter and made a similar peanut butter cookie, but these pumpkins deserved to be the star of the show placed right on top of a chewy, peanut buttery cookie.
We all know and love the classic peanut butter blossom, now you can add a a little fall twist! No need to wait for Christmas to make them. Let’s be honest, I’m always looking for an excuse to whip up a sweet treat.
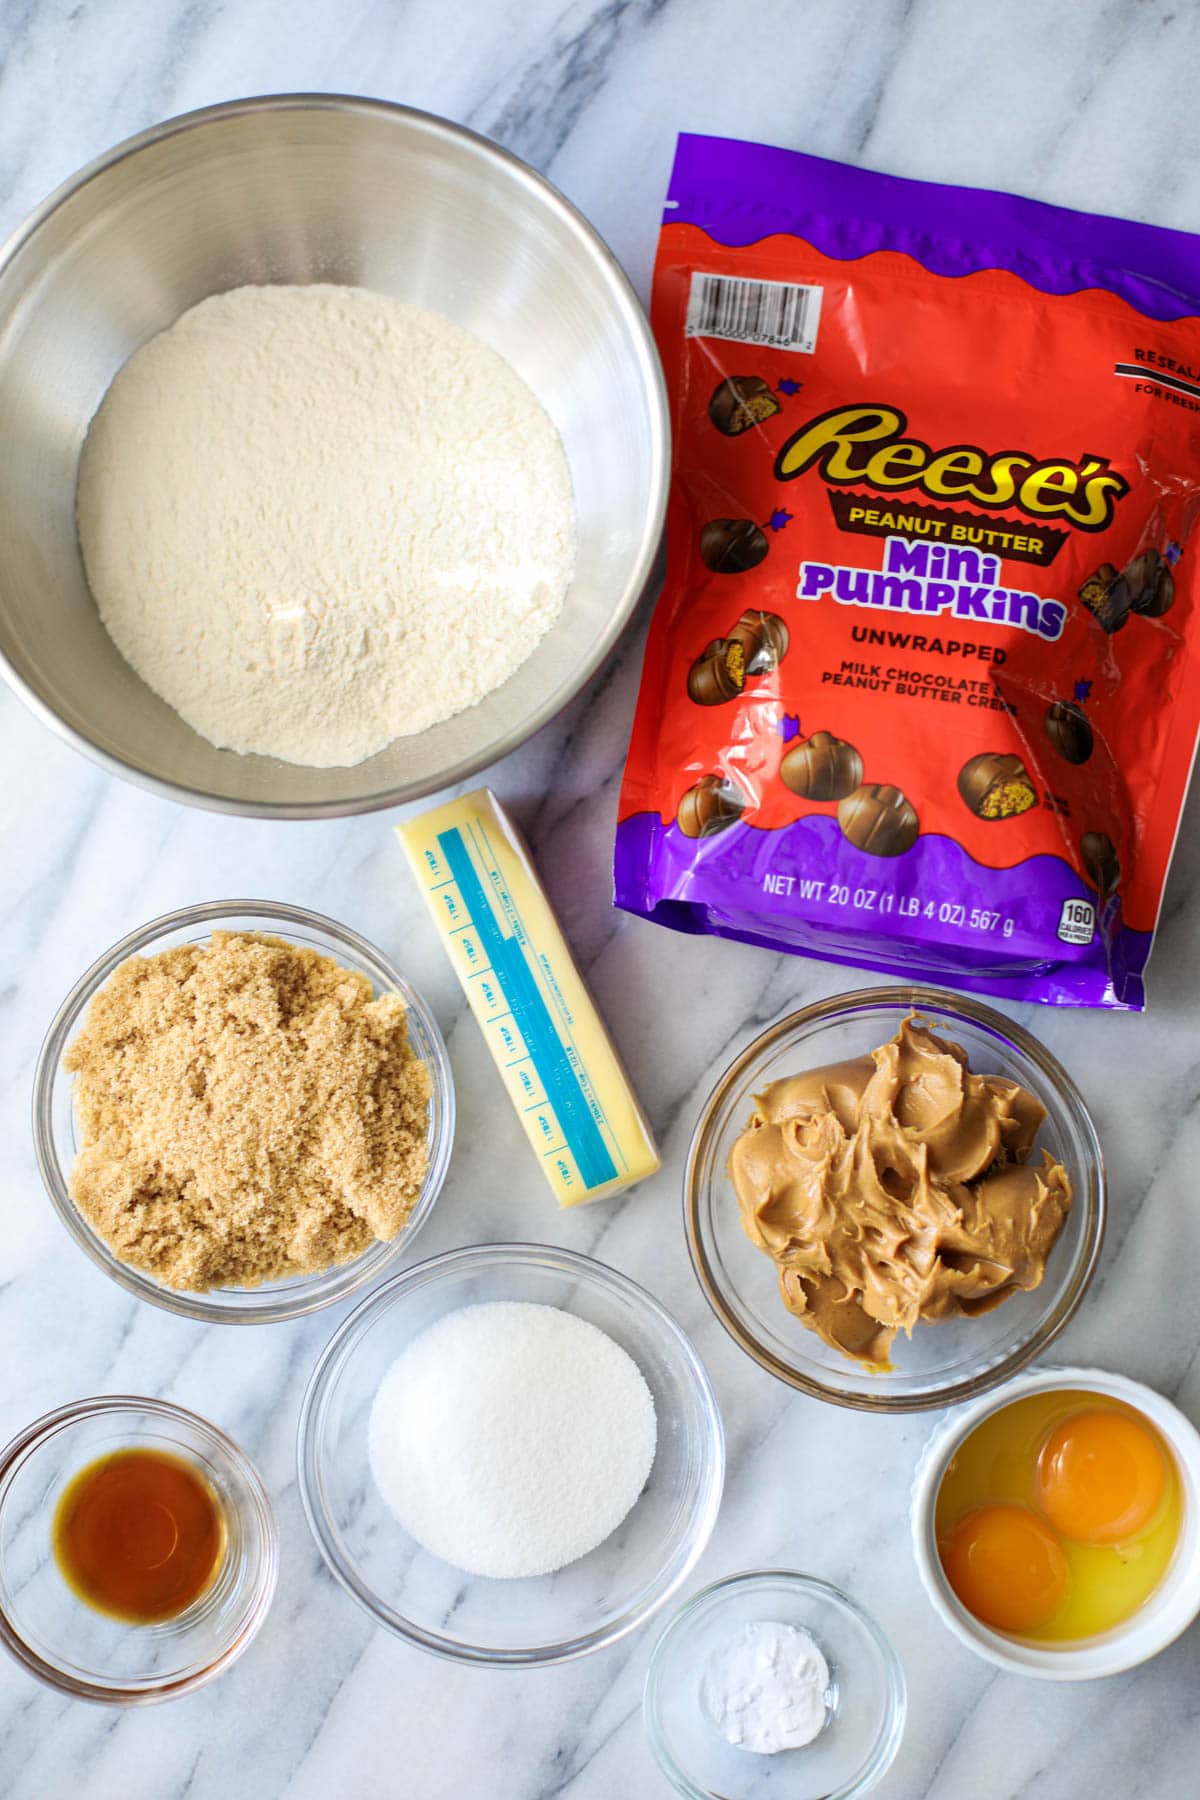
Mini Reese’s Pumpkin Peanut Butter Blossoms Ingredients
Besides scouring the town for the Mini Reese’s Pumpkins, you probably have all of these ingredients on hand!
Let’s break it down:
Dry Ingredients
- light brown sugar
- granulated white sugar
- all-purpose flour
- baking soda
- Mini Reese’s Pumpkins for topping
Wet Ingredients
- unsalted butter
- creamy peanut butter
- whole egg
- egg yolk
- vanilla extract
How to Make Mini Reese’s Pumpkin Peanut Butter Blossoms
A peanut butter cookie with a peanut butter cup? Sign me up.
- Prep: Line a cookie sheet with parchment paper. Preheat your oven to 350°F. To help the Mini Reese’s Pumpkins keep their shape, place them in the refrigerator while you prepare and bake the cookie dough.
- Make the dough: In a bowl or stand mixer, cream ½ cup softened butter with ¾ cup light brown sugar and ¼ cup granulated sugar until pale. Add ¾ cup peanut butter and mix until incorporated. Add in 1 egg, 1 egg yolk, and 1 teaspoon vanilla extract and mix until combined.
- Mix and add the dry ingredients: In a separate bowl, whisk together 1 ½ cups plus 1 tbsp flour and ½ teaspoon baking soda. Gradually add to the wet mixture until fully combined.
- Form the cookies: Using a cookie scoop, make 1.5 tablespoon balls. Lightly roll in a small bowl of granulated sugar. Place each ball of cookie dough 2½ inches apart on the lined cookie sheet.
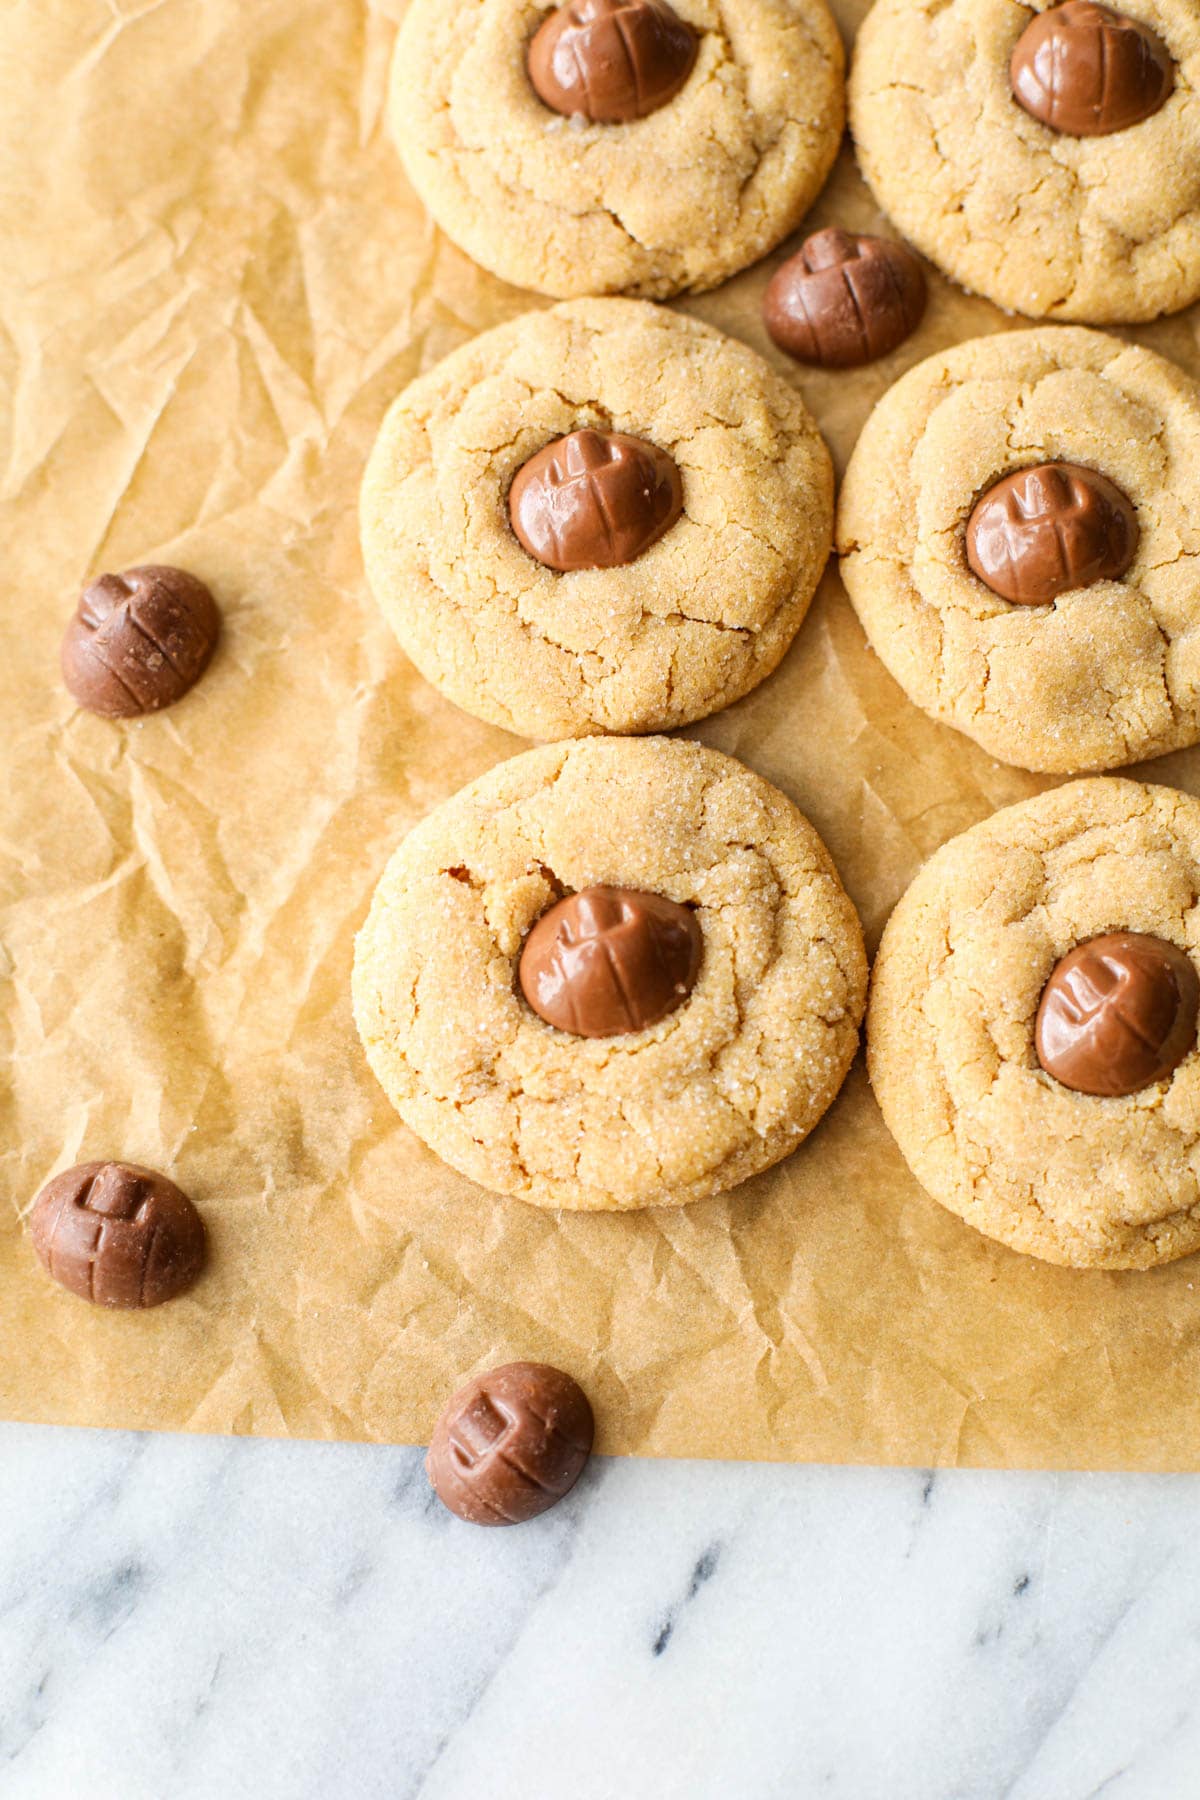
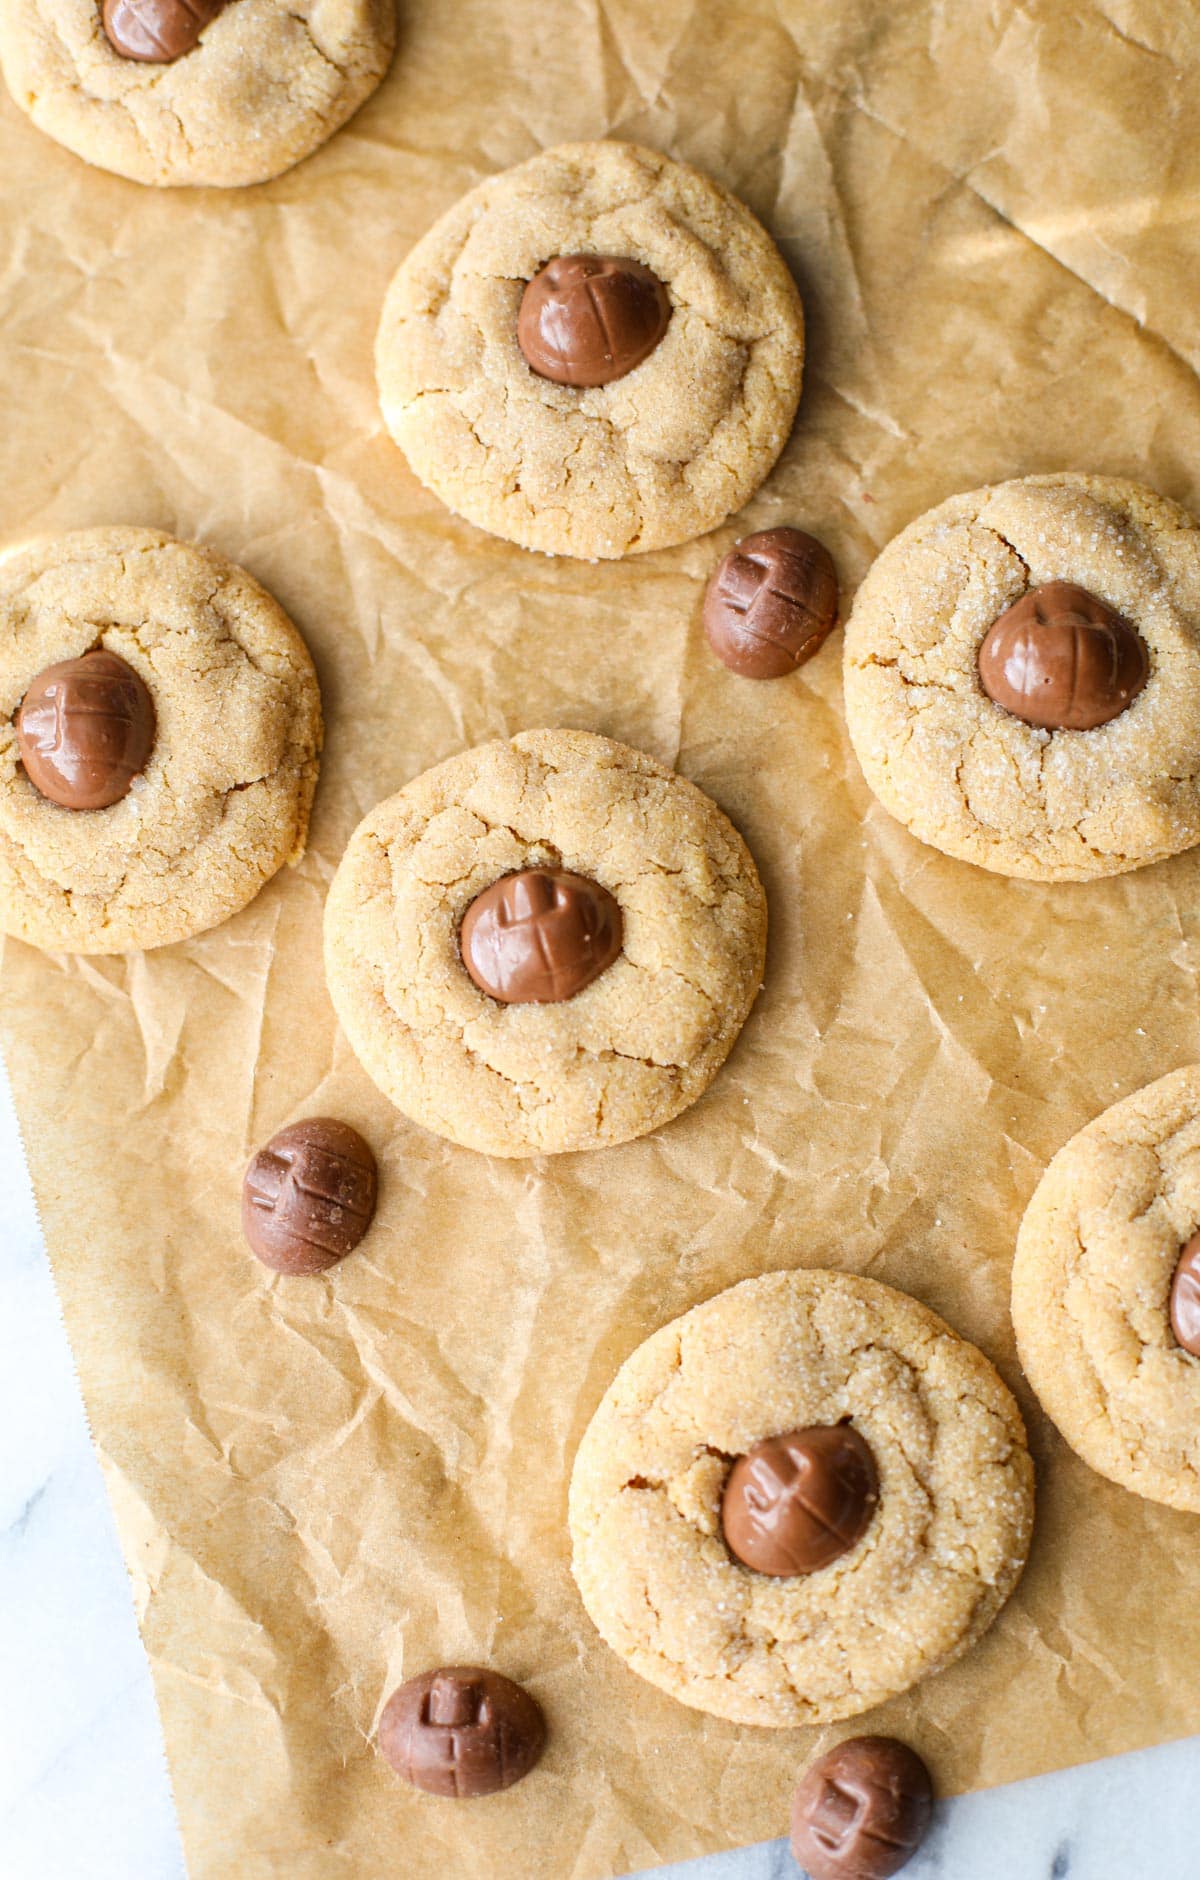
- Bake: Bake for 9-11 minutes or until the edges are lightly golden brown. Remove from the oven and within a few minutes, top the middle of each cookie with a Mini Reese’s Pumpkin, lightly pressing it down.
- Enjoy: Definitely eat some warm! But for the leftovers, to keep the chocolate pumpkin shape, let the cookies cool on parchment paper for 2-3 hours until the chocolate hardens, or store in a single layer.
Make Ahead and Storage Tips
These stay fresh for up to 3 days in an air-tight container. Keep in mind, it takes several hours for the mini pumpkins to harden after placing them on your cookies. You can store them sooner by only keeping them in a single layer so nothing presses on the chocolate until it fully hardens.
If you want to make these ahead of time, I recommend freezing the dough balls in a flat, single layer in an airtight container or ziplock bag. Remove the dough balls from the freezer, place in your 350 degree oven for 10-11 minutes. Press the pumpkins on the cookies once baked as per the regular recipe instructions.
Do not let the dough sit out, bake immediately from frozen for best results. I do recommend baking the dough once made, but it is possible to make the dough and bake when you’re ready!

Mini Reese’s Pumpkin Peanut Butter Blossoms
- Total Time: 35 minutes
- Yield: 26 cookies 1x
Ingredients
- ½ cup unsalted butter, softened (113g)
- ¾ cup traditional creamy peanut butter, not natural (203g)
- ¾ cup light brown sugar (160g)
- ¼ cup granulated white sugar (50g), plus more for rolling
- 1 whole egg
- 1 egg yolk
- 1½ cups plus 1 tablespoon all-purpose flour (187.5g)
- 1 teaspoon vanilla extract
- ½ teaspoon baking soda (3g)
- Mini Reese’s Pumpkins for topping
Instructions
- Line a cookie sheet with parchment paper and preheat your oven to 350°F.
- To help the Mini Reese’s Pumpkins keep their shape, place them in the refrigerator while you prepare and bake your cookie dough.
- In a bowl or stand mixer, cream ½ cup softened butter with ¾ cup light brown sugar and ¼ cup granulated sugar until pale.
- Add ¾ cup peanut butter and mix until incorporated.
- Add in 1 egg, 1 egg yolk, and 1 teaspoon vanilla extract and mix until combined.
- In a separate bowl, whisk together 1½ cups plus 1 tablespoon flour and ½ teaspoon baking soda. Gradually add to the wet mixture until fully combined.
- Using a cookie scoop, make 1.5 tablespoon balls. Lightly roll in a small bowl of granulated sugar.
- Place each ball of cookie dough 2½ inches apart on the lined cookie sheet.
- Bake for 9-11 minutes or until the edges are lightly golden brown. Remove from the oven and within a few minutes, top the middle of each cookie with a Mini Reese’s Pumpkin, lightly pressing it down.
- You can eat and enjoy right away, but to keep the chocolate pumpkin shape, let the cookies cool on parchment paper for 2-3 hours until the chocolate hardens, or store in a single layer.
Notes
Place the Mini Reese’s Pumpkins in the fridge while you prepare and bake the cookies to assist in keeping their shape.
The chocolate takes several hours to harden after pressing into the cookie. If you need to store sooner, only do a single layer with a lid that will not press on the tops of the cookies.
- Prep Time: 25 minutes
- Cook Time: 10 minutes
- Category: Sweet Tooth
- Method: Oven
- Cuisine: American
Frequently Asked Questions
Are the tops of the cookies supposed to crack?
Yes! These cookies contain a lot of fat. But have no fear, it helps the mini pumpkin sit perfectly in the center of each cookie! Plus, it gives it the classic peanut butter blossom look.
Why do you have to use creamy peanut butter?
Natural peanut butter separates, you may notice you have to stir the oils in the jar to keep a smooth consistency. This can translate into the dough and cause very loose dough. I am curious to try it – maybe some chilling time would help! But Jif to the rescue for this recipe.
 Homemade Hamburger Helper
Leave a Reply